Garden hoses are essential tools for watering plants, cleaning patios, and other outdoor tasks. However, they can develop common issues like leaks, punctures, or damaged ends over time.
These problems can waste water and make chores frustrating. Instead of replacing the hose, repairing it is a smarter option. Fixing a hose saves money, reduces waste, and extends its lifespan, keeping it out of landfills
Tools and Materials Needed
To repair a garden hose effectively, you’ll need a few basic tools and materials:
- Hose clamps: Used to secure fittings or mend damaged sections.
- Replacement parts: Male/female ends or hose mender kits for reconnecting or replacing damaged ends.
- Utility knife or scissors: For cutting the hose cleanly.
- Rubber tape: Self-adhering or electrical tape to seal small leaks.
- Screwdriver: To tighten clamps or fittings securely
Types of Garden Hose Repairs
Garden hoses often face issues like small leaks, faucet or spigot leaks, and large cuts. Each type of damage requires a specific repair method.
1. Small leaks: occur due to tiny holes or punctures in the hose. These can be quickly fixed using rubber tape or electrical tape. Cleaning and drying the area is essential before wrapping the tape tightly around the damaged spot to ensure a proper seal.
2. Faucet or spigot leaks: typically happen at the connection point and are caused by worn-out washers or loose fittings. Replacing the washer inside the connector or tightening screws with a screwdriver can resolve this issue. If the problem persists, applying thread sealant or Teflon tape to the threads may help.
3. Large leaks or cuts : require removing the damaged section of the hose. Using a sharp blade, cut out the damaged part cleanly, then reconnect the two ends with a hose mender kit. This involves inserting a fitting into both ends and securing it with clamps to restore functionality.
4. Step-by-Step Instructions To Fix a Garden Hose
Fixing a garden hose is easy and doesn’t require advanced skills. Follow these simple steps to repair small leaks, large leaks, or damaged hose ends.
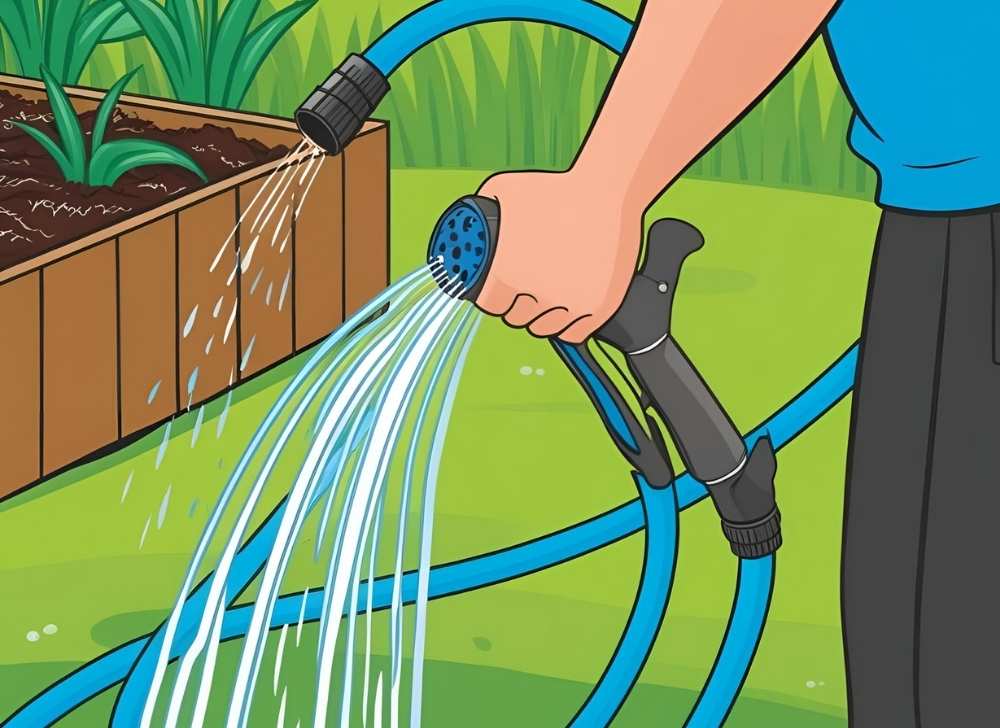
Fixing Small Leaks
Small leaks are caused by tiny holes or cracks in the hose. Here’s how to fix them:
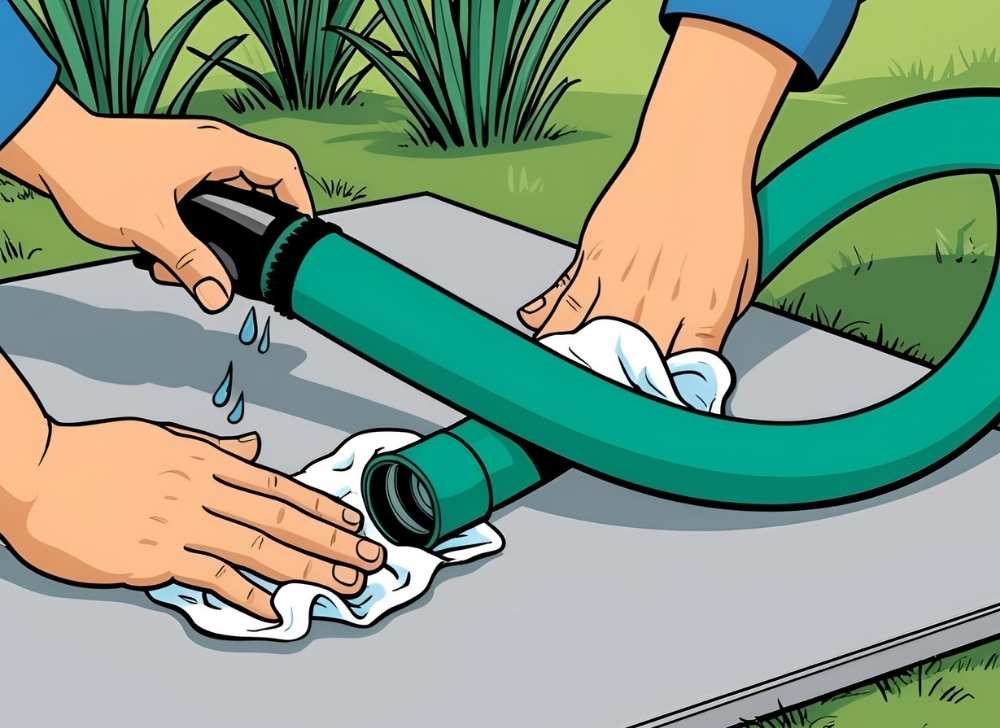
Step 1. Clean the area: Start by cleaning and drying the leaking spot thoroughly. Dirt or moisture can prevent the tape from sticking properly.
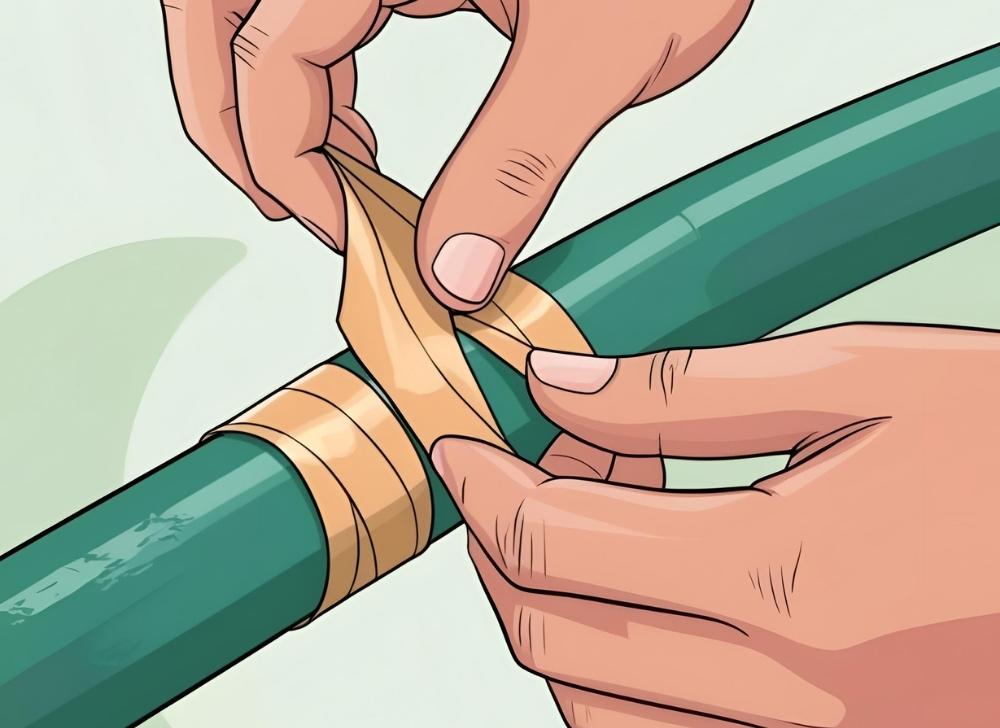
Step 2. Wrap with tape: Use rubber tape or electrical tape to seal the leak. Wrap the tape tightly around the damaged area, starting a few inches before the leak and continuing a few inches past it for extra security. Overlap each layer of tape as you wrap to ensure a strong seal.
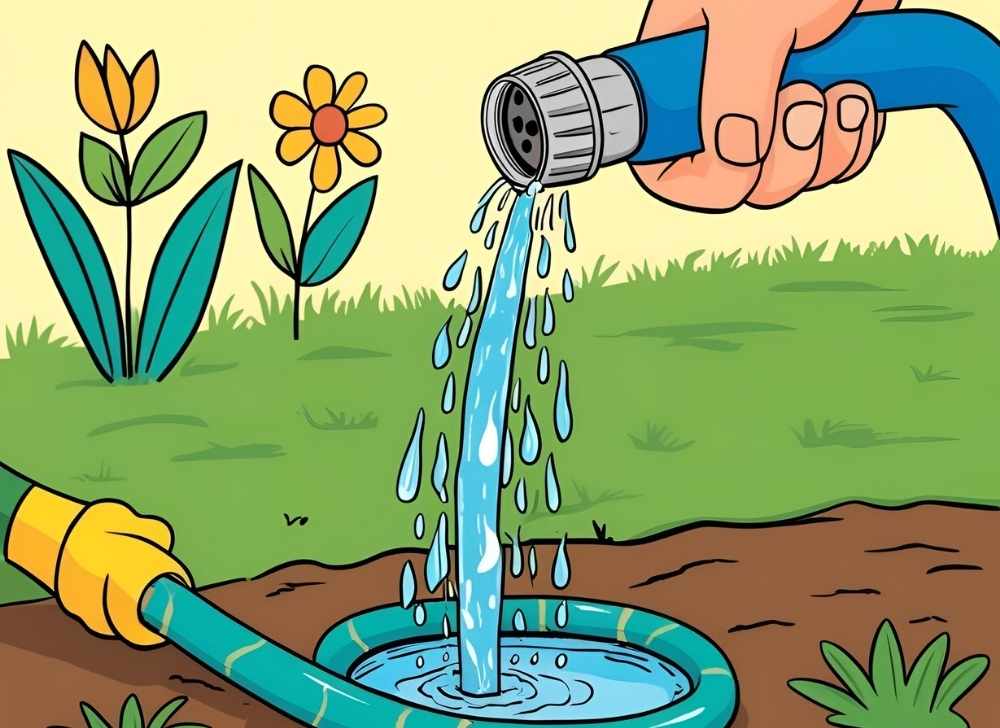
Step 3. Test for leaks: Turn on the water to check if the leak is fixed. If water still leaks out, add another layer of tape.
Repairing Large Leaks
Large leaks or cuts require removing the damaged section and reconnecting the hose using a repair kit:
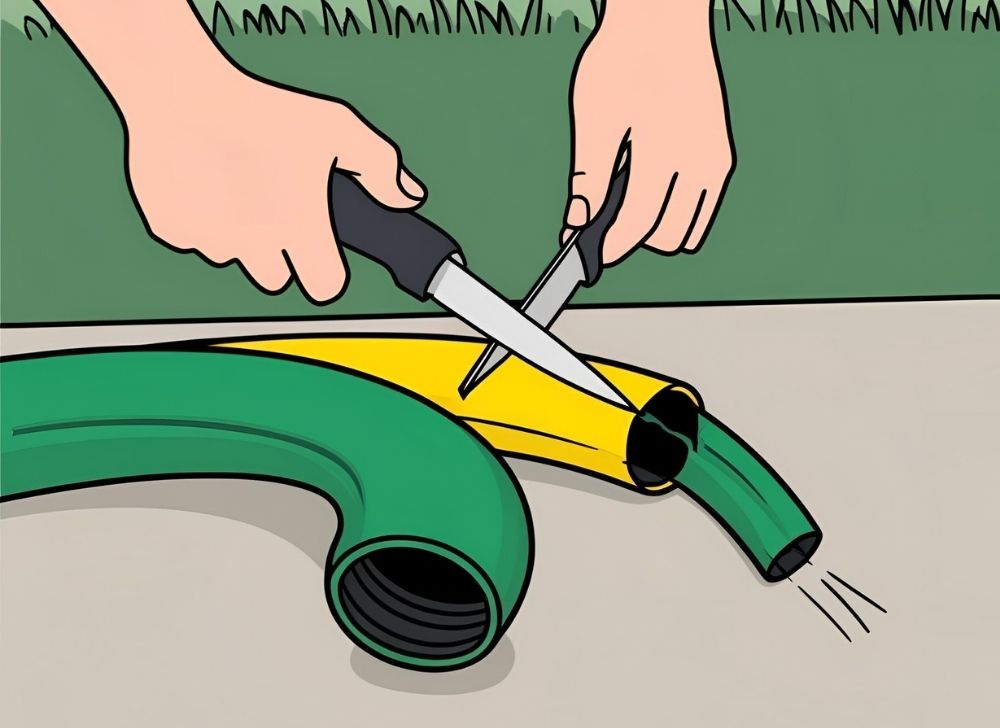
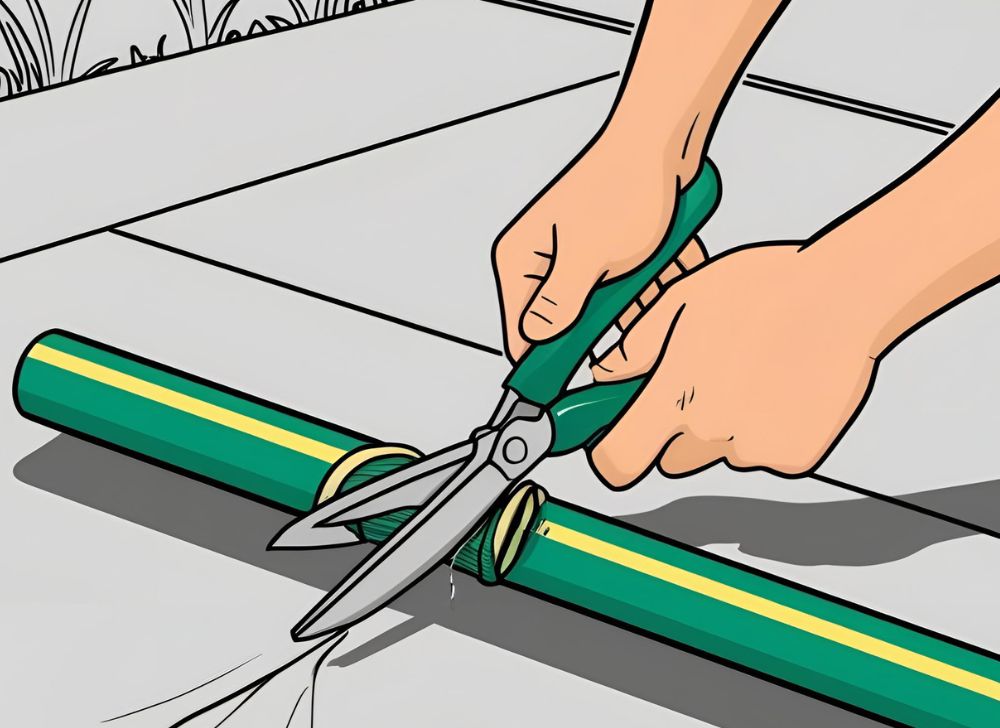
Step 1. Cut out the damaged section: Use a utility knife or scissors to cut out the damaged part of the hose. Make sure your cuts are straight and clean for a better fit with the repair fittings.
Step 2. Prepare the hose ends: Slide hose clamps onto both ends of the cut hose before inserting any fittings.
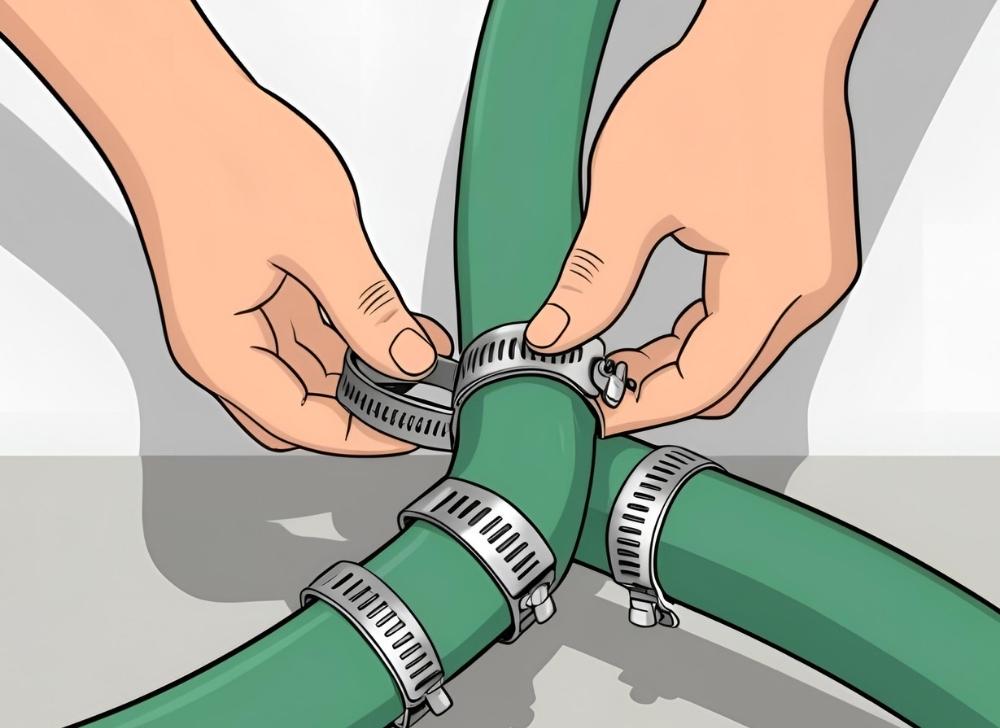
Step 3. Insert a fitting: Take a fitting from a hose mender kit and insert it into one end of the hose. Push it in firmly until it fits snugly, then repeat for the other end using the opposite side of the fitting. If inserting is difficult, soak the hose ends in hot water for a few minutes to make them more flexible.
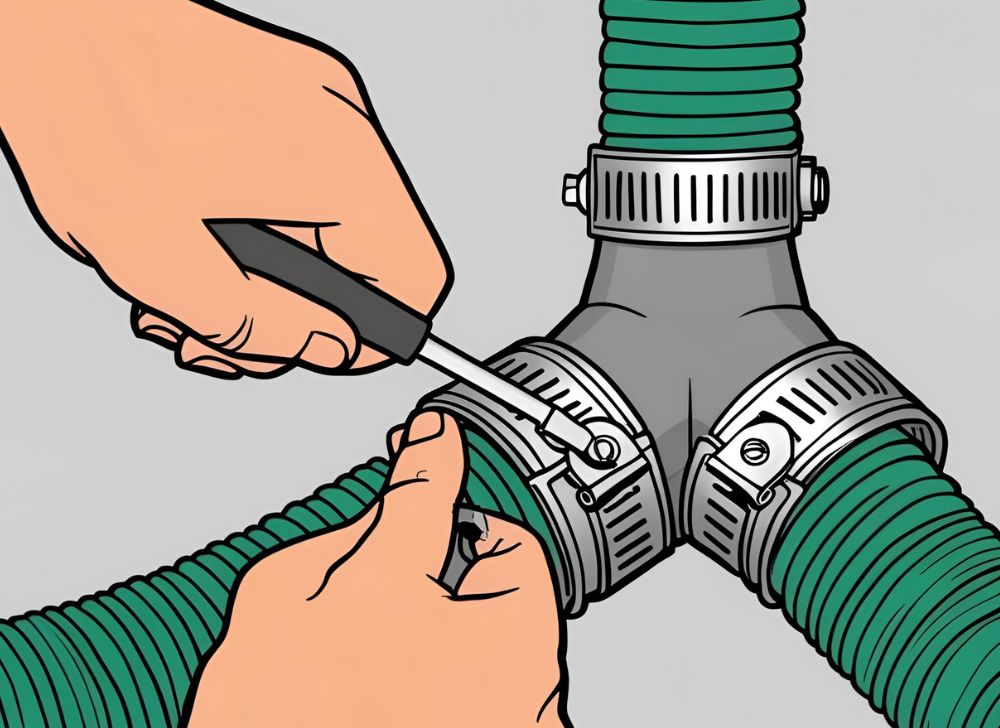
Step 4. Tighten clamps: Move the clamps over each fitting and tighten them securely using a screwdriver. Ensure they are tight enough to prevent leaks but not so tight that they damage the hose material.
Step 5. Test for leaks: Turn on the water to confirm that your repair is successful.
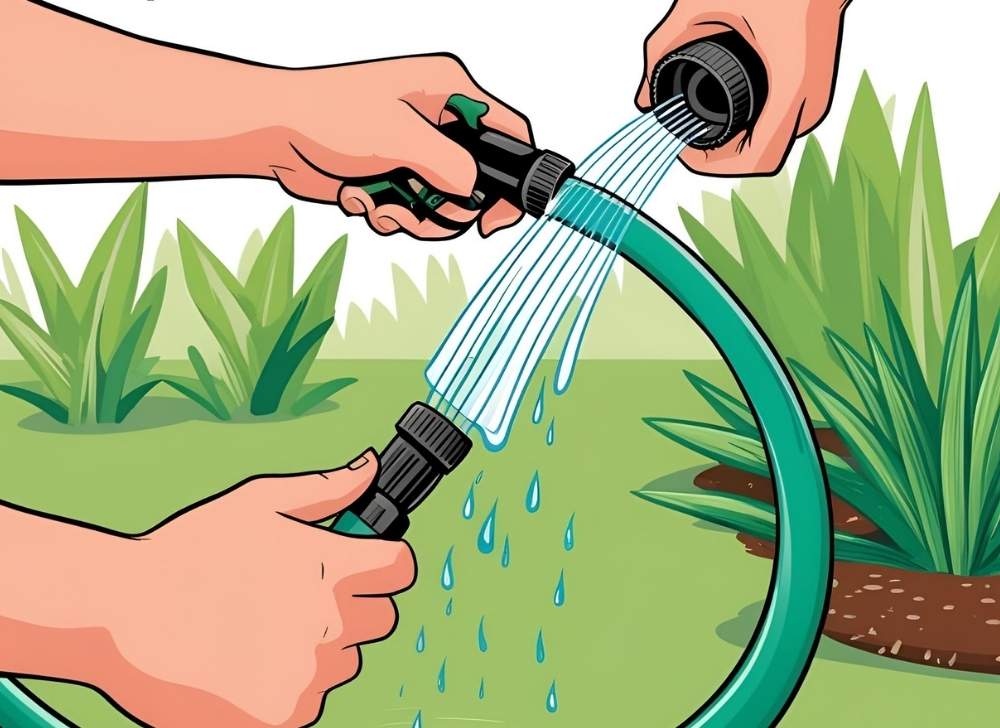
Replacing Hose Ends
If one end of your garden hose is damaged, you can replace it with a new male or female fitting:
Step 1. Cut off the damaged end: Use scissors or a utility knife to remove the damaged portion of the hose, making a clean and straight cut for proper fitting installation.
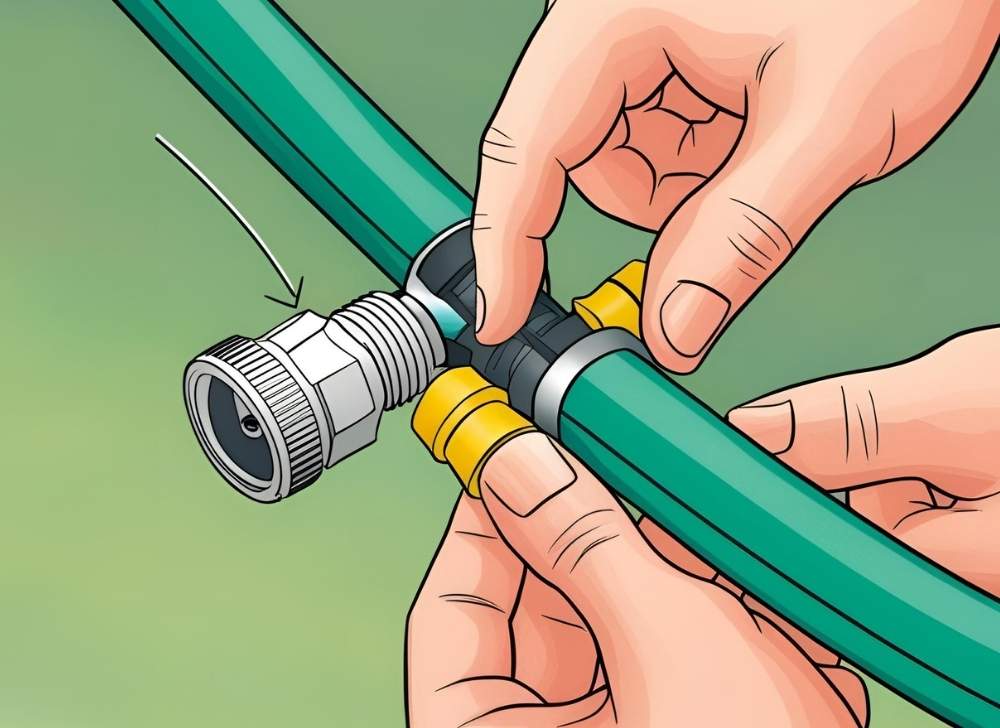
Step 2. Insert a new fitting: Take a new male or female fitting and push it firmly into the cut end of the hose until it fits snugly. Lubricate the fitting with dish soap if needed to make insertion easier.

Step 3. Secure with a clamp: Slide a hose clamp over the fitting and tighten it securely using a screwdriver to hold everything in place without leaks.

Step 4. Test for leaks: Turn on the water to ensure that no water escapes around the new fitting.
By following these simple steps, you can easily fix your garden hose and make it work like new again! Repairing instead of replacing saves money and reduces waste, making it an eco-friendly solution
Tips for Easy Repairs
Making garden hose repairs is even easier with a few simple tricks. To make fittings slide into the hose more smoothly, apply a bit of petroleum jelly or soap to the fitting. This reduces friction and helps it fit snugly.
If the hose ends feel stiff, soak them in hot water for a few minutes. The heat softens the material, making it flexible and easier to work with. Before buying replacement parts, always measure the diameter of your hose to ensure you get the correct size. Most hoses come in standard sizes like 1/2 inch, 5/8 inch, or 3/4 inch.
FAQs
How can I fix a small leak in my garden hose?
To fix a small leak, clean and dry the area around the hole. Wrap rubber or electrical tape tightly around the leak, overlapping layers for a strong seal. Test the hose by turning on the water to ensure the leak is repaired.
What tools do I need to repair a damaged garden hose?
You’ll need basic tools like a utility knife or scissors, hose clamps, replacement parts (such as male or female ends or hose mender kits), rubber tape, and a screwdriver. These items make repairs quick and easy.
How do I repair a large cut in my garden hose?
Cut out the damaged section using a sharp blade, ensuring clean edges. Slide hose clamps onto both ends of the cut hose, insert a fitting from a hose mender kit, and tighten the clamps securely with a screwdriver.
Can I replace the end of my garden hose if it’s damaged?
Yes, you can replace the damaged end by cutting it off and attaching a new male or female fitting. Insert the fitting into the cut end of the hose and secure it with a clamp for a watertight connection.
How do I choose the right replacement parts for my garden hose?
Measure your hose diameter before purchasing replacement parts. Most hoses are either 1/2 inch or 5/8 inch in diameter. If unsure, buy parts for both sizes and return the one that doesn’t fit
Conclusion
Regular maintenance is key to keeping your garden hose in good condition for years. Simple repairs like fixing leaks or replacing damaged ends save money and reduce waste by extending the hose’s lifespan. Instead of throwing away a damaged hose, repairing it is an eco-friendly and cost-effective solution that anyone can do with basic tools and materials.