
Do you ever find yourself wishing you had fresh basil for your pasta or mint for your tea, right when you need it? You’re not alone. That’s exactly why herb gardens are one of the most rewarding and practical types of gardens to start, especially for beginners.
In this guide, we’ll walk you through everything you need to know about creating a simple herb garden layout, from planning and planting to harvesting and enjoying your herbs.
1. Start With the Right Location
One of the most important parts of creating a successful herb garden is choosing the right spot. Herbs are sun-loving plants and need at least 6 hours of direct sunlight a day to grow well.
Ideal locations include:
- A sunny spot in your backyard
- Along the edge of a patio or walkway
- A balcony that gets good light
- A sunny kitchen windowsill (especially for small indoor herb gardens)
If you’re not sure how much sun your space gets, observe it throughout the day. Most culinary herbs (like basil, rosemary, and thyme) thrive in full sun, so choose the sunniest area you can find.
2. Choose Your Herbs Wisely
Not all herbs grow well together or need the same care. When you’re just starting out, it’s smart to choose herbs that are:
- Easy to grow
- Commonly used in cooking
- Hardy in your local climate
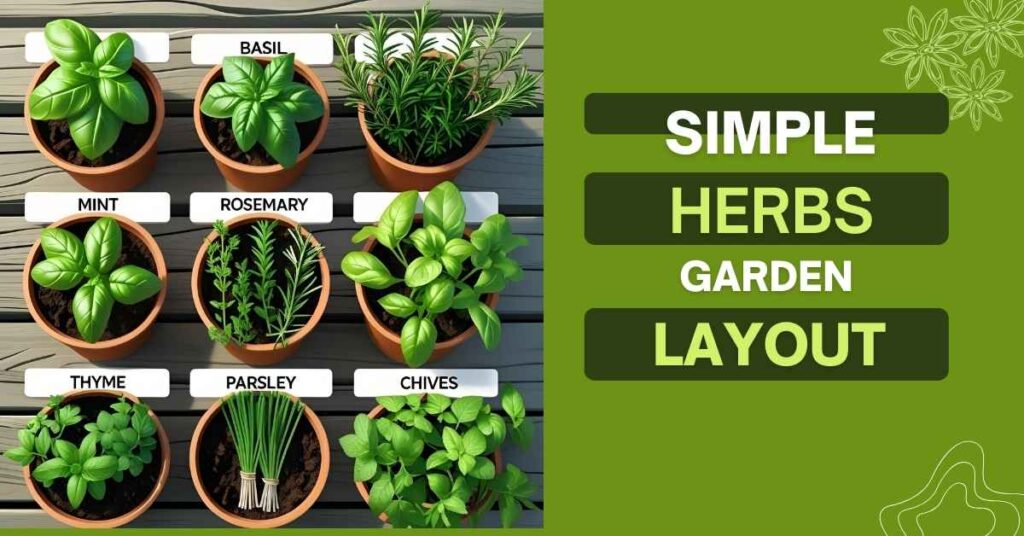
Best Herbs for Beginners
Here are some popular and beginner-friendly herbs:
| Herb | Light | Water Needs | Notes |
|---|---|---|---|
| Basil | Full Sun | Medium | Needs warm weather, keep harvesting to encourage growth |
| Mint | Part Sun to Full Sun | High | Grows fast, keep in pots or it may spread |
| Parsley | Full Sun | Medium | Can tolerate light shade, cut often |
| Chives | Full Sun | Medium | Hardy, great in eggs and salads |
| Rosemary | Full Sun | Low | Loves dry conditions, don’t overwater |
| Thyme | Full Sun | Low | Good companion for other herbs |
| Oregano | Full Sun | Low | Perennial in warm climates |
| Cilantro | Full Sun | Medium | Best in cooler weather, quick-growing |
Pro Tip:
Group herbs with similar water and sunlight needs together in your garden layout. For example, rosemary, oregano, and thyme all prefer dry, sunny conditions, so they make great planting companions.
3. Simple Herb Garden Layout Ideas
Now that you’ve chosen your location and herbs, let’s talk about layout. You don’t need anything fancy, just a thoughtful layout that fits your space and lifestyle.
a) Container Herb Garden
Perfect for: Small spaces, balconies, renters
You can grow herbs in:
- Clay pots
- Window boxes
- Hanging baskets
- Plastic or ceramic containers
Tips for container layout:
- Use separate pots for fast-growing herbs like mint.
- Place taller herbs like rosemary or basil at the back and smaller ones like thyme or chives at the front.
- Make sure pots have good drainage holes to prevent soggy soil.
b) Raised Bed Herb Garden
Perfect for: Yards, patios, or those with limited bending ability
A raised bed is a framed garden box, usually 4 feet by 4 feet or 4 feet by 8 feet. It makes your herbs more accessible and helps with drainage.
How to lay out a raised herb bed:
- Divide the bed into square sections (you can use string or wooden slats).
- Assign one or two herbs per square.
- Place herbs with similar needs next to each other.
c) Spiral Herb Garden
Perfect for: A decorative, functional garden bed
An herb spiral is a circular, raised bed built in a spiral shape. It allows you to create microclimates:
- The top is sunny and dry (good for rosemary, thyme).
- The bottom is moist and shaded (good for mint or parsley).
Materials you can use:
- Bricks
- Stones
- Recycled concrete
- Wood
The spiral saves space and looks beautiful—a great centerpiece for your garden.
4. Step-by-Step: Planning Your Layout
Step 1: Measure Your Space
Know exactly how much space you have. If it’s just a balcony, maybe 3–5 containers will do. For a raised bed, sketch it out on paper.
Step 2: Choose Containers or Beds
Pick between pots, planters, or building a bed. Make sure your materials allow for drainage.
Step 3: Prepare the Soil
Most herbs prefer well-draining soil. Mix garden soil with compost and a bit of sand or perlite.
Step 4: Group by Watering Needs
Put Mediterranean herbs (rosemary, thyme, oregano) together. Place water-loving herbs (basil, parsley, mint) together.
Step 5: Label Everything
Use wooden sticks, rocks, or small signs to label your herbs. This is especially helpful when plants are small.
5. Tools and Supplies You’ll Need
Here’s a simple checklist to get started:
✅ Pots or raised bed materials
✅ Good-quality potting soil
✅ Compost or organic fertilizer
✅ Small trowel
✅ Watering can or hose
✅ Herb seeds or starter plants
✅ Plant labels
✅ Mulch (optional, but helps retain moisture)
Watering and Maintenance Tips
Watering is one of the most common areas where beginners go wrong. Here’s how to get it right:
General Watering Tips:
- Water early in the morning
- Stick your finger into the soil—if it feels dry 1 inch deep, it’s time to water
- Don’t water the leaves; aim for the soil
- Overwatering is worse than underwatering for most herbs
Fertilizing:
- Use organic compost or a gentle all-purpose fertilizer once a month
- Don’t over-fertilize; it can reduce the flavor of your herbs
7. Harvesting Your Herbs
Herbs taste best when harvested just before flowering. Picking them regularly also encourages new growth.
How to Harvest:
- Use clean scissors or garden shears
- Cut just above a leaf node (where two leaves meet the stem)
- Never cut more than ⅓ of the plant at once
Examples:
- Basil – Pinch off the top leaves often
- Chives – Snip near the base
- Mint – Trim long stems back to just above a set of leaves
8. Common Herb Garden Problems and Fixes
Even simple gardens face challenges. Here are a few you might run into:
| Problem | Cause | Solution |
|---|---|---|
| Yellowing leaves | Overwatering | Let soil dry out before watering |
| Wilting | Underwatering or root rot | Check soil moisture |
| Spindly growth | Not enough sunlight | Move to a sunnier spot |
| Pest damage (e.g. holes in leaves) | Aphids, caterpillars | Use neem oil or soap spray |
9. Seasonal Tips
- Spring: Best time to plant herbs from seeds or seedlings.
- Summer: Watch for dryness, harvest often.
- Fall: Start trimming and preserving herbs.
- Winter: Bring pots indoors or protect with covers. Some herbs can grow inside near windows.
10. Preserving and Using Your Herbs
Got more herbs than you can use? Great! Preserve them for later.
Drying:
- Tie in bundles and hang upside down
- Or dry in an oven at low heat
Freezing:
- Chop and freeze herbs in ice cube trays with olive oil or water
Using Fresh Herbs:
- Add to soups, salads, teas, marinades, and more
- Mix herbs into butter, oils, or salt blends
Final Thoughts:
Creating a simple herb garden layout is one of the best ways to dip your toes into gardening. It’s easy, it’s fun, and the results are delicious.
Whether you start with a few containers on your balcony or build a raised bed in your yard, what matters most is that you start. With a bit of sunlight, some planning, and a few seeds or plants, you’ll be on your way to growing your own fresh, healthy herbs in no time.
Read Also:
