
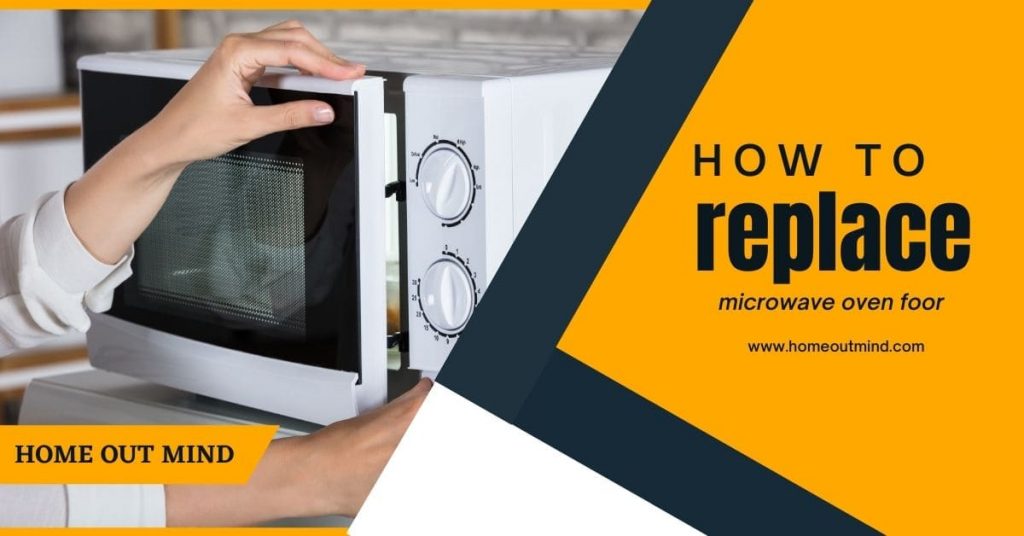
Are you wondering how to replace microwave door?
is your microwave oven door doesn’t want to lock your microwave oven glass door has broken or your microwave door has damage on it and you want to replace it. Here is what to do
in this article we’ll show how to replace microwave door moreover we’ll show you how to replace microwave handle door and latch spring also we’ll show you how to replace microwave oven outer door panel.
make sure to wear gloves to protect your hands from sharp edges and screws.
How to replace microwave door?
before you replace the door assembly on your microwave oven be sure to unplug the power cord or shut off the power supply.
Tools you will need:
- Phillips head screwdriver.
- Small flat-head screwdriver.
- putty knife.
- needle-nose pliers.
To replace the door:
1. open the door and use a Phillips head screwdriver to unthread the two screws securing the front vent.
you can use a putty knife to help pry off the vent
with the vent removed:
2. lift off the old door assembly.
3. install the new door assembly by inserting the hinge pins into the holes in the hinges.
4. reinstall the front vent by aligning the top edge first.
5. press the bottom edge into place thread the two screws to secure.
6. plug the power cord back in or restore the power supply and your microwave oven should be ready for use.
How to replace microwave oven outer door panel?
before you replace the outer door panel on your microwave oven be sure to unplug the power cord or shut off the power supply.
Tools you will need:
- t-20 tamper-proof Torx bit.
- Phillips head screwdriver.
- Small flat-head screwdriver.
- putty knife.
- needle-nose pliers.
1. use a Philips head screwdriver to unthread the three screws securing the top grille.
2. pull the grille down from the top to detach.
3. disconnect the door wire connector.
4. use a small flat-head screwdriver to pry out the access plug.
5. detach the door assembly mounting pins from the holes in the hinges to remove the assembly and set it
on a sturdy surface.
6. pry out the plugs covering the four mounting screws.
7. Hold the inner and outer door panels together use the Phillips head screwdriver to unthread the screws.
8. use a putty knife to help separate the outer door assembly from the inner panel.
9. remove the window insert.
10. unthread all of the screws securing the display board cover.
11. lift up the cover and detach the wires from the clips on the cover.
12. use the putty knife to help pry off the upper trim.
13. release the door wire retainer to fully detach the trim.
14. detach the handle screw covers.
15. use a t20 Torx bit to unthread the mounting screws to release the door handle.
16. unthread the screws securing the left side trim.
17. pull the trim free.
18. unthread the screws securing the upper bracket.
19. depress the tabs to release the bracket.
20. slide the outer door glass to the left to remove.
21. unthread the four mounting screws to release the display board.
22. disconnect the harness connector.
23. release the ribbon from the connector.
24. unhook the door wires from the retaining clips on the old outer door panel.
you’re now ready to prepare the new outer door panel for installation
to install the new outer door panel:
1. secure the door wires under the retaining clips.
2. reinstall the display board by first connecting the ribbon to the connector.
3. connect the harness connector.
4. position the display board and thread the mounting screws.
5. align the door clasp in the outer door panel.
6. realign the upper bracket and snap it into place.
7. rethread the screws.
8. replace the left side trim and secure it with the screws.
9. before you reinstall the handle make sure the two insulators are in place that aligns the handle and fully
thread the mounting screws.
10. snap the screw covers into place.
11. feed the door wire through the upper trim then snap the retainer into place.
12. align the top of the trim first then snap it into position.
13. secure the wires in the retaining clips on the display board cover.
14. position the cover then rethread all of the screws.
15. reposition the window insert.
16. realign the inner door panel and snap the two panels together.
17. replace the four mounting screws.
18. press the plugs into place.
20. align the door assembly on the hinges so the mounting pins insert into the holes in the hinges.
with the door in place
21. snap the access plug-in.
22. connect the door wire connector.
before you reinstall the top grille make sure the support clips are in place.
23. align the grille taps with the slots in the frame and snap the grille into position.
24. rethread the three screws.
having a magnetized screwdriver will make it easier to rethread the screw on the right.
25. plug the power cord back in or restore the power supply and the microwave oven should be ready for use.
How to replace Microwave Oven Door Latch spring?
be aware that repairing this appliance poses a substantial risk for injury or death if precautions are not taken.
you should always unplug the microwave before you attempt any disassembly since high voltage capacitors used in microwaves may retain a charge even after the microwave has been unplugged.
Tools you will need:
- t-15 tamper-proof Torx bit.
- Phillips head screwdriver.
- Small flat-head screwdriver.
- putty knife.
- needle-nose pliers.
to replace the door latch spring in this frigidaire microwave oven:
1. unthread the six rear screws securing the cover using the t-15 tamper-proof Torx bit.
2. unthread the screw on the right side of the cover as well.
3. pull the rear sides of the cover out.
4. lift the cover-up and pull it back to fully remove.
important: you should release the potentially stored electrical charge in the capacitor to avoid injury.
you can do this by placing needle nose pliers with an insulated handle across each set of terminals.
5. using the Phillips head screwdriver unthread the two screws securing the upper door hinge.
6. with the screws unthreaded open the door and lift the door assembly off the lower hinge.
7. set the door on its front on a towel or blanket.
8. use the putty knife and the small flat head screwdriver to release the retaining clips securing the inner panel Trim.
you will need to work your way around the inside edge to fully detach the trim.
9. use the putty knife and small flat head screwdriver to release the retaining tabs on the outer door panel securing the inner panel.
10. separate the inner door panel from the outer panel.
11. use the needle-nose pliers to detach the door latch spring from the inner panel if still intact and remove the old Spring.
to install the new door latch spring
1. hook one end onto the tab on the door latch.
2. attach the opposite end to the tab on the inner panel.
make sure the upper hinge is positioned on the inner panel
3. align the panel in the outer panel and snap it into place.
4. realign the trim and snap the trim into position.
5. reinstall the door by aligning the bottom of the door on the lower hinge pin.
6. align the upper hinge on the frame.
7. thread the two screws to secure the upper hinge.
8. reinstall the microwave oven cover by first aligning the top edge with the sides thread and tightening the seven screws to secure.
9. plug the power cord back in and the microwave oven should be ready for use.
How to replace microwave handle door?
before you begin any repair unplug the appliance from the wall outlet it is also recommended that
you check for proper voltage.
Tools you will need:
a small flat blade driver and a number two Phillips drive.
to begin this repair you must :
Remove the old handle door
1. open the microwave door
2. remove to choke (it’s a section behind the door it’s cover the middle of the door).
3. Start to remove along the bottom, be careful because these chokes will snap in half on you quite easily.
4. get in with your flat blade driver or a painter’s tool and start popping it loose all the way around.
got little pressure point pop pins that hold it in place once you get it
5. start to work around releasing each pin and your choke is removed.
6. set your choke aside, with the choke removed we have clear access to the bottom.
7. remove support the handle with screwdrivers and our hand, and set that aside.
8. remove the top screw which is also number two-shot.
9. pull the door back a bit.
10. pull the handle straight out and set that aside.
Once your microwave handle door removed
Install the new handle door
1. get the handle in place.
2. support the handle with one hand.
3. install your top screw.
4. install your bottom screw.
5. reinstall the choke.
dress it against the door and make sure that your gorse which hooks get through the choke line it up
6. start with the top corner get it pressed in place and work our way around and that completes.
