
Are you grappling with the challenge of replacing a thermocouple on your water heater? Many individuals encounter difficulties when it comes to this task.
In this guide, we’ll walk you through the process step by step, ensuring you have the knowledge and confidence to get the job done right.
Before You Begin:
It’s crucial to understand that for your water heater to function correctly, the thermocouple assembly must be installed correctly.
With that in mind, let’s dive into the steps and instructions for replacing the thermocouple on your water heater:
Step 1: Prepare for Maintenance
Before diving into the replacement process, ensure safety by turning off the water heater’s supply at the manual shut-off valve, typically located nearby. Take note of the valve’s position (open/on) before switching it off.
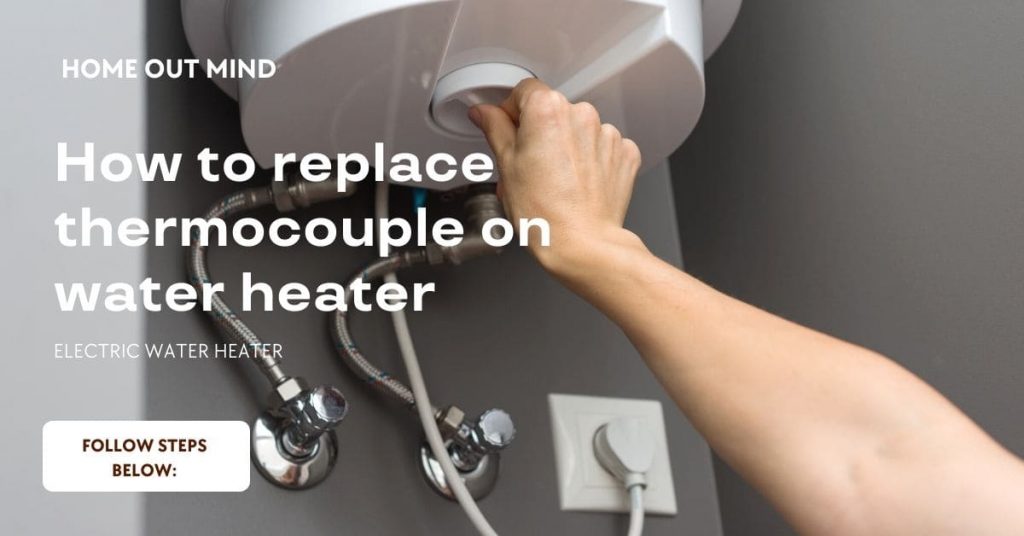
Step 2: Access the Control Valve/Thermostat
1. Locate the combination control valve/thermostat on the lower front of the water heater.
2. Depress and hold the lock tab under the control knob, then rotate the knob clockwise to align “OFF” with the valve mark.
3. Once the supply is off, remove the outer door for access.
Step 3: Loosen Manifold Door Screws
1. Using a 1/4” nut driver or socket, loosen the two screws securing the manifold door assembly.
- Note: Do not remove the screws and plastic retainer washers; they’re needed for reattachment.
Step 4: Disconnect Components
1. Disconnect the thermocouple, manifold tube, pilot tube, and igniter wire from the control valve/thermostat.
2. Use a 7/16” wrench to disconnect the thermocouple (left-hand thread) and pilot tube (right-hand thread).
3. Use a 3/4” wrench to disconnect the manifold tube (right-hand thread). Gently pull the igniter wire from the igniter button.
Step 5: Remove Manifold Assembly
1. Push down slightly on the manifold tube to free it, along with the pilot tube and thermocouple, from the control valve/thermostat.
2. Carefully remove the manifold assembly from the burner compartment, ensuring no damage to internal parts.
Step 6: Clean the Area
1. With the manifold assembly removed, use a brush or vacuum to clean the flame arrestor thoroughly, both top and bottom.
2. Ensure cleanliness within the combustion chamber and beneath the water heater, especially in lint/dust-prone areas.
Note: Whenever maintenance is performed on the combustion chamber, clean the flame arrestor inside and outside.
Step 7: Handle Wire Connector
1. Locate the retainer clip securing the two-piece wire connector to the manifold door. Note its orientation.
2. Insert a large flat-head screwdriver between the clip and the top of the wire connector.
3. Carefully rotate the screwdriver to lift the clip.
Step 8: Remove Wire Connector
1. With the retainer clip removed, push the two-piece wire connector through the manifold door. It may require sliding the connector out one piece at a time.
2. Keep the wire connector and retainer clip for reinstallation.
Step 9: Handle Thermocouple Clip
1. Locate the clip holding the thermocouple to the pilot tube (if applicable), noting its position on the larger diameter part of the thermocouple.
Step 10: Remove Thermocouple
1. Find where the thermocouple connects to the rear of the pilot assembly.
2. Pull the thermocouple from the rear of the pilot assembly, ensuring not to remove the burner.
3. Once disconnected, the thermocouple can be removed from the manifold door assembly.
With these steps completed, you’re well on your way to successfully replacing the thermocouple on your water heater.
How do you fix a thermocouple on a water heater?
Step 1: Turn Off Gas Supply
- Locate the gas valve on your water heater and turn the knob to the “OFF” position.
- Allow the water heater to cool down for a few minutes before proceeding.
Step 2: Access the Thermocouple
- Identify the thermocouple, typically located near the pilot light assembly.
- You may need to remove an access panel or cover to reach it.
Step 3: Disconnect Old Thermocouple
- Use an appropriate wrench to loosen and disconnect the thermocouple from the gas control valve.
- Unscrew the fitting connecting the thermocouple to the control valve carefully.
Step 4: Remove Old Thermocouple
- Once disconnected, carefully remove the old thermocouple from its mounting bracket or clip.
- Take note of its orientation and how it was installed for reference.
Step 5: Install New Thermocouple
- Insert the new thermocouple into the same position as the old one.
- Ensure it is securely attached to the mounting bracket or clip.
Step 6: Connect to Gas Control Valve
- Reconnect the other end of the thermocouple to the gas control valve.
- Use a wrench to tighten the fitting securely, but avoid over-tightening.
Step 7: Test Pilot Light
- Turn the gas supply back on and follow the manufacturer’s instructions to relight the pilot light.
- Hold down the pilot light button or knob as instructed until the pilot flame ignites.
Step 8: Check for Proper Functioning
- Observe the pilot light for a few moments to ensure it remains steady and doesn’t flicker or go out.
- If the pilot light stays lit, the thermocouple replacement was successful.
Step 9: Reassemble and Close Access Panel
- If everything is working correctly, reassemble any panels or covers you removed to access the thermocouple.
- Ensure all connections are secure, and there are no gas leaks.
What Do I Do If the Pilot Light Is Out?
If the pilot light on your water heater is out, follow these steps to relight it safely:
Step 1: Turn Off Gas
Before attempting to relight the pilot light, ensure the gas supply to the water heater is turned off. This is typically done by turning the control knob to the “OFF” position.
Step 2: Wait for Gas to Disperse
After turning off the gas, wait for a few minutes to allow any residual gas to disperse. This helps prevent the risk of a sudden flare-up when relighting the pilot light.
Step 3: Locate Pilot Light
Locate the pilot light assembly. It’s usually found near the bottom of the water heater, behind a small access panel.
Step 4: Follow Manufacturer’s Instructions
Refer to the manufacturer’s instructions for your specific water heater model. These instructions typically provide detailed steps for relighting the pilot light safely.
Step 5: Turn Control Knob to Pilot
Turn the control knob on the gas valve to the “PILOT” position. Hold the knob in this position while you proceed to the next step.
Step 6: Ignite Pilot Light
Use a long-reach lighter or match to ignite the pilot light. Hold the flame near the pilot burner while continuing to depress the control knob.
Step 7: Keep Holding Control Knob
After the pilot light ignites, continue to hold the control knob in the “PILOT” position for about 30 seconds to one minute. This allows the thermocouple to heat up and maintain the pilot flame.
Step 8: Release Control Knob
After the specified time, release the control knob. The pilot light should remain lit. If it goes out, repeat the process, ensuring the thermocouple is properly heated before releasing the knob.
Step 9: Turn Control Knob to On
Once the pilot light is stable, turn the control knob to the “ON” position to reignite the main burner. If your water heater has a separate temperature control, set it to your desired temperature.
Step 10: Check for Proper Operation
After relighting the pilot light, check for proper operation of the water heater. Ensure hot water is being produced and monitor the pilot light to ensure it remains lit.
Can I replace water heater thermocouple myself?
Yes, you can replace a water heater thermocouple yourself. It’s a manageable task if you have some basic DIY skills and follow safety precautions.
However, if you’re unsure or uncomfortable, it’s wise to seek assistance from a professional plumber or technician to ensure the job is done correctly.
How do I know if my thermocouple is bad on my water heater?
You can identify a faulty thermocouple if the pilot light frequently goes out or if the burner fails to stay lit.
These issues indicate that the thermocouple may not be sensing the pilot light correctly, causing the gas supply to shut off.
If you experience these problems, it’s advisable to inspect and potentially replace the thermocouple.
Can a water heater work without a thermocouple?
No, a water heater typically cannot operate without a thermocouple. The thermocouple serves a crucial safety function by detecting the presence of a pilot light.
If the thermocouple fails to sense the flame, it will prevent the flow of gas to the burner, shutting down the water heater to prevent gas leaks and potential hazards.
Therefore, it’s essential to replace a faulty thermocouple promptly to maintain the safe and efficient operation of your water heater.
Frequently Asked Questions
How to install hot water heater element
Installing a hot water heater element requires precision and attention to detail. Start by turning off the power and draining the tank partially. Remove the access panels, disconnect the old element, and install the new one securely.
Reconnect the wires and ensure proper alignment to prevent leaks. For step-by-step instructions and safety tips, refer to our comprehensive guide on How to Install Hot Water Heater Element.
How to fix RV water heater
Fixing an RV water heater involves several steps to ensure proper operation. Start by inspecting the heater for visible signs of damage or malfunction. Check the burner assembly, ignition system, and connections for any issues.
If necessary, clean or replace components as needed. Additionally, check for leaks and address them promptly. For a comprehensive guide on troubleshooting and fixing RV water heaters, explore our article on How to Fix an RV Water Heater.
How to clean tankless water heater
Regular maintenance, including cleaning, is vital to uphold the efficiency and longevity of your tankless water heater. The process involves flushing out mineral deposits and debris that accumulate over time, hindering performance.
Dive deep into our extensive guide on Cleaning a Tankless Water Heater to discover effective descaling methods, maintenance schedules, and expert recommendations to keep your unit running smoothly.
Why is the water heater leaking
Water heater leaks can occur due to various reasons, including loose fittings, corroded pipes, or a faulty pressure relief valve. Inspect the water heater for visible signs of leakage and address any loose connections or damaged components.
If the leak persists, check the pressure relief valve for malfunctions and replace it if necessary. For a detailed explanation of common causes and troubleshooting tips, refer to our article on Why Is the Water Heater Leaking?.
How to light a gas water heater
Lighting a gas water heater is a straightforward process with proper guidance. Start by turning the control knob to “Pilot” and holding it while igniting the pilot light. Once lit, release the knob and set it to the desired temperature.
For detailed instructions, including safety precautions and troubleshooting advice, refer to our comprehensive guide on How to Light a Gas Water Heater.
Conclusion
In conclusion following these step-by-step instructions carefully, you can effectively fix a thermocouple issue on your water heater and restore proper functionality.
If you encounter any difficulties or are unsure about any step, it’s advisable to seek assistance from a professional plumber or technician. Safety should always be a top priority when working with gas appliances.
