
Are you wondering how to calibrate an oven?
some of you you know that when you’re baking or cooking that sometimes your cookies may be a little burnt. but you have the right temperature and the timing is right or maybe even when you’re cooking dinner and you’re like hey that chicken should be done by now it’s on the right temperature it’s I’ve had it in there for an hour there’s no reason.
why it’s not done and it still looks pink but did you know you’re supposed to calibrate your oven.
In this article, we’d like to show you how to calibrate the oven temperature on your range. If you’ve purchased a new range and the temperatures don’t seem to match your old recipes, we can show you how to calibrate for that. Or if you have an existing range that the temperature seems to have either increased or decreased over the years, we can show you how to compensate for that as well.
There are two typical styles of range controls in use today. This style uses an electronic range control to control the oven temperature and other models that use a manual dial, which will typically have the temperature and degrees around the perimeter of the dial.
Follow the instructions below to know how to calibrate an oven:
How to Calibrate an Oven Temperature?
Step1. determine what the temperature in the oven is compared to what is shown on the display.
1. Typically, we would select the default temperature which in most cases is 350 degrees Fahrenheit.
2. Let the oven preheat and then run for a few moments afterward.
3. Place an oven thermostat in the oven and monitor the temperature that is displayed on that.
4. Keep in mind that the thermostats that you purchase at the local hardware store may not be that accurate, and you may want to either invest in a quality digital thermometer.
5. load the terminal end of that probe with some foil just to give it some solid mass which will hold the temperature better.
6. leave that sitting in the middle of the oven while the temperature is heating and allow it to stabilize.
7. At that point, you can read the temperature on the dial and verify exactly what that temperature is.
In most cases, you’ll find that it is exactly what it says on the display.
8. select one of the keypads, one or two of the keypads, and that will display the current offset temperature of that clock.
In this case, it is zero degrees offset. When the range is at 350, this display should show 350.
If you wanted to offset so that the range was 10 degrees hotter than what is shown.
9. increase that by 10, 20, or 30 degrees depending on what your preferences are.
10. Once you’ve selected that, follow the instructions, and that offset is now incorporated into the software and the clock and will operate at a higher temperature than what the display is shown.
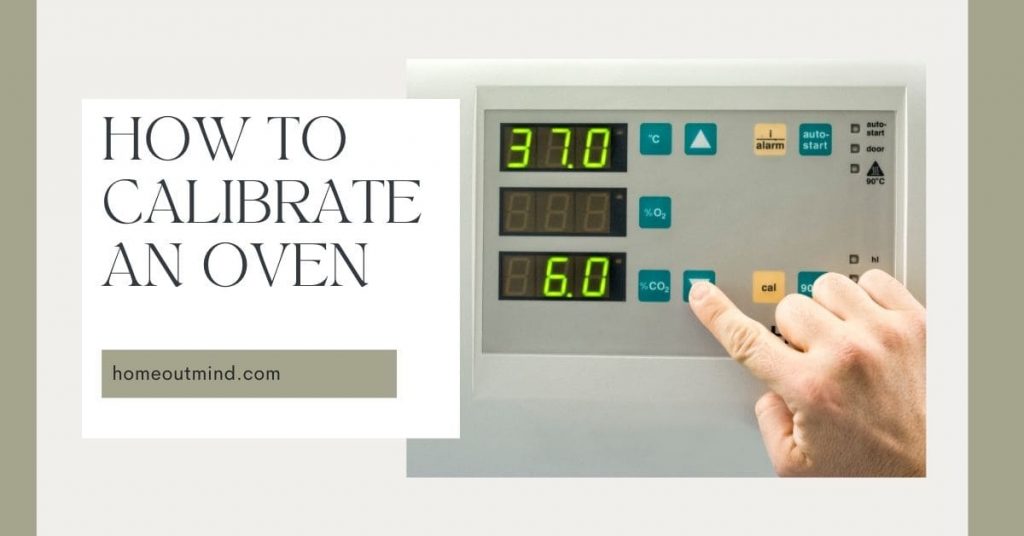
Step2. Calibrating Electric Ovens With Digital Controls
on this style of range, it uses a manual oven control. There is a temperature sensing bulb that is located inside of the oven on one side or the other typically close to the sidewall.
This is a hydraulics style of control.
As heat is applied to that sensor, it forces a set of contacts in the control to open and close according to the temperature that it senses.
Before you make any adjustments with the manual-style thermostat
1. ensure that the temperature sensing bulb is seated firmly in the mounting brackets attached to the side of the oven wall.
That there is no damage to that capillary tube that extends out through the back of the wall and also, that there are no kinks in there.
If this is out of position or sitting flush against the wall of the oven, it won’t sense the temperature
accurately.
Note: So make sure that is in good shape before you attempt any adjustments.
Over time, with this style of control, the oven temperature inside the oven tends to be higher than what is on the display in most cases.
For instance, you may typically have a control set for 35 but the actual oven may be running somewhere closer to 400 degrees.
In most cases, you can compensate for that with an internal adjustment inside of the shaft of that control.
On models where the temperature display is actually on the dial itself, you may find that as you pull that knob off, there may be some screws on the back that will allow you to rotate the knob about the dial to offset that temperature.
If you have this dial,
1. you’ll need to adjust the control through the center of that shaft using an oven thermometer, either the type that you would sit on the rack or the more accurate style digital type with the probe attached to the rack.
You would then monitor what that temperature is.
To make that adjustment:
1. you will need a specialized very thin flat blade screwdriver that will fit inside of that shaft.
It needs to be able to fit loosely in there.
If it’s too tight going into that opening, you’ll need to find a better tool to do that adjustment.
As you insert that in the shaft, you’ll find where the slot is, and at that point, you can
- adjust it either clockwise or counter-clockwise as required.
- Typically, a counter-clockwise adjustment would set the temperature lower.
- A clockwise adjustment would set the temperature higher.
Once you’ve set that to satisfy your needs, you can replace the knob, and your control is now set.
How to calibrate LG oven temperature?
Your new oven may cook differently than the one it replaced. Use the oven for a few weeks to become more familiar with it. After that time, if you still think the oven runs too hot or too cold.
Follow these steps to manually calibrate the LG oven temperature.
The displayed oven temperature can be increased or decreased by as much as 35° F or 19°C.
Type1. Calibrating LG oven models (LREL6325/LRGL5825)
1. press settings repeatedly until (AdJU) appears in the display.
2. use the number keys to enter the number of degrees to adjust the oven temperature.
3. press settings again to add a +/- sign to indicate the direction of change.
4. press start to accept the change.
Type2. Calibrating LG oven models (LREL6323/LRGL5823)
1. press and hold the clock button for 3 seconds.
2. press the clock repeatedly until (AdJU) appears in the display.
3. press or press and hold the +/- to set the number of degrees to adjust the oven temperature.
4. press settings again to add a +/- sign to indicate the direction of change.
5. press start to accept the change.
Type3. Calibrating LG oven models (LREL6321S/LRGL5821S)
1. press settings repeatedly until (AdJU) appears in the display.
2. press or press and hold the +/- to set the number of degrees to adjust the oven temperature.
3. press settings again to add a +/- sign to indicate the direction of change.
4. press start to accept the change.
Read also:
- The ultimate guide to cooking and drying on ovens
- how to fix oven door?
- how to use oven?
- how to unlock lg oven?
- how to install a built in oven?
- how to preheat whirlpool oven?
- how to replace oven heating element?
After reading and following the instructions above you might know now how to calibrate an oven.
