
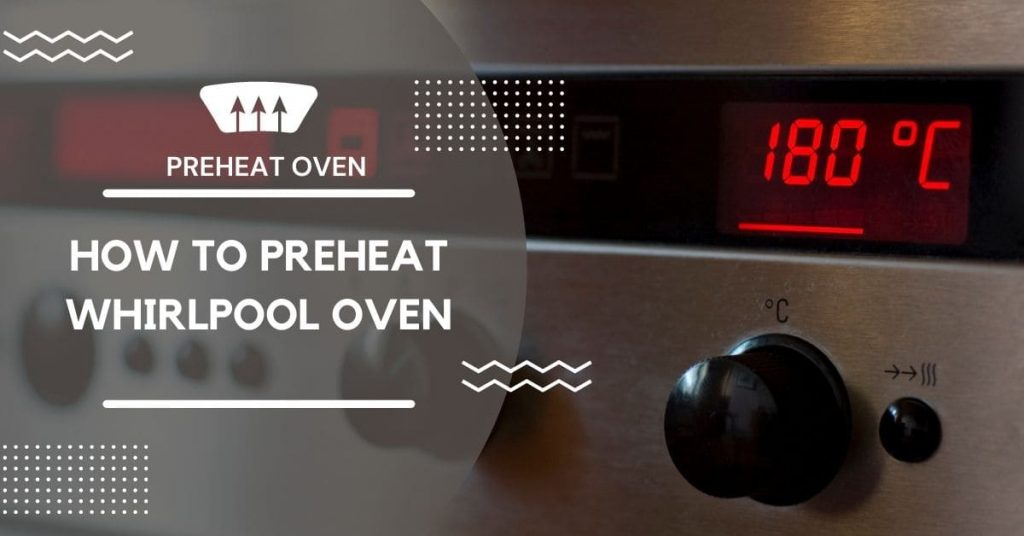
Are you wondering how to preheat whirlpool oven?
to earlier than start cooking or baking meals and recipes, the oven must be heated to the proper temperature, because if you baking your meals in a cold oven your recipes will become very uncooked so it is strongly recommended to heat your oven before starting cooking your food.
Note whenever you preheating the oven don’t touch and don’t put foods and objects on the surface of the oven, moreover, don’t let children come close to the oven.
Please comply with these directions and a couple of strategies to know how to preheat whirlpool oven:
How to preheat whirlpool oven in two methods
Method1.
1. preheating
When starting a Bake cycle, the oven will start preheating after the Start is pressed. The oven will take approximately 12 to 15 minutes to succeed in 350°F (177°C) with all the oven racks supplied along with your oven contained in the oven cavity.
Higher temperatures will take longer to preheat.
The preheat cycle quickly will increase the oven temperature. The precise oven temperature will go above your set temperature to offset the warmth lost when your oven door is opened to insert meals.
This ensures that whenever you place your meals within the oven, the oven will start at the correct temperature.
Insert your meals when the preheat tone sounds.
Do not open the door throughout preheating earlier than the tone sounds.
2. rapid preheating
Rapid Preheat can be utilized to shorten the preheating time. Only one standard flat oven rack must be within the oven throughout Rapid Preheat.
Extra racks must be removed earlier than beginning Rapid Preheat. The preheating cycle must be accomplished earlier than inserting meals in the oven.
When the Rapid Preheat cycle is full, the oven begins a standard Bake cycle.
*Rapid Preheat must be used just for single-rack baking.
3. oven temperature
While in use, the oven parts will cycle on and off as needed to take care of a constant temperature, however, they could run barely hot or cool at any time limit as a result of this cycling.
Opening the oven door whereas in use will release the recent air and cool the oven, which may impact the cooking time and performance.
It is really helpful to make use of the oven light to observe cooking progress.
NOTE: On models with convection, the convection fan might run within the non-convection bake mode to enhance oven performance.
how to set temperature on whirlpool oven
To change the temperature or output of the grill, proceed as follows:
1. Check that the cursor is positioned next to the temperature value (zone 1); press the button to select the parameter to be changed: the temperature values flash.
2. Use buttons and to change to the desired value.
3. Press the button to confirm and then press. The display indicates which shelf food should be placed on.
4. Press to start cooking. The set temperature can also be changed during cooking by following the same procedure.
5. At the end of cooking, the end of the cooking message is displayed. At this point, the oven can be switched off by pressing |, or cooking can be prolonged by pressing ∆ .
When switched off, the display shows the cooling bar which indicates the temperature inside the oven.
Method 2.
1. SELECTING OVEN PREHEATING
If you do not want to preheat the oven, for these capabilities which permit it, simply change the oven’s default selection as follows:
1. Use buttons and, transfer the cursor to preheat.
2. Press the button to pick out the setting: “Yes” flashes on the display
3. To change the setting, press or: “No” seems on the display.
4. To confirm your selection, press the button.
2. FAST PREHEATING
If you want to preheat the oven rapidly before inserting food, change the oven’s default selection as follows:
1. Select the fast preheating operation utilizing buttons and.
2. Confirm by pressing: the settings are proven on the display.
3. If the proposed temperature is that desired, press, in any other case proceed as described in previous paragraphs to vary it.
An acoustic sign will sound when the oven has reached the set temperature. At the end of preheating, the oven automatically selects the standard to operate At this level meals may be positioned within the oven for cooking.
4. If you want to set different cooking operations, press and choose the specified function.
How to set temperature on whirlpool oven?
To change the temperature or output of the grill, proceed as follows:
1. Check that the cursor is positioned after the temperature value (zone 1); press the button to pick out the parameter to be modified: the temperature values flash.
2. Use buttons and vary to the specified worth.
3. Press the button to substantiate after which press. The display indicates which shelf meals need to be positioned on.
4. Press to begin cooking. The set temperature may also be modified throughout cooking by following the identical process.
5. At the end of cooking, the end of the cooking message is displayed. At this level, the oven may be switched off by pressing |, or cooking may be extended by pressing ∆ .
When switched off, the display shows the cooling bar which signifies the temperature contained in the oven.
How to unlock whirlpool oven controls?
The Control Lock shuts down the control panel pads to prevent unintended use of the ovens.
When the control is locked, only the CLOCK, TIMER SET, and TIMER OFF pads will perform. The Control Lock is preset unlocked however will be locked.
To Lock/Unlock Control:
Before locking:
- make sure that the ovens
- Timer and Timed Cooking are off.
- Press and maintain START/ENTER till a single tone sounds and “Loc,” an image of a lock, and “START?” will seem on the oven display, about 5 seconds.
- Repeat to unlock and take away “Loc” from the display
How to replace oven door glass whirlpool?
Follow these steps to know how to replace oven door glass whirlpool:
Step1. Remove the oven door
1. Put on protecting gloves
2. Open the oven door absolutely
3. Lift the two catches so far as they go
4. Remove the door by closing it partially and pulling it upwards
Step2. disassemble the oven door:
1. Place the oven door on a horizontal surface
2. Unscrew and take away the two glass help screws A along with the hinges.
3. Lift the bottom of the sheet of glass and take away it
4. Slip out the second and the third sheet of glass, paying explicit consideration to the place of the word SAFE GLASS
5. Refit the sheets of glass in reverse order ensuring that: – The word SAFE GLASS on the intermediate sheets is going through upwards to be appropriately legible.
if one of many intermediate sheets doesn’t have the word SAFE GLASS it has to be inserted within the place closest to the inner glass.
- Put the within glass into place with the word SAFE GLASS going through the highest of the door.
- Reposition and screw on the two glass support A.
Note: a slight play between the within the glass and the door uprights is to be thought-about regular because it compensates enlargement of the glass attributable to warmth.
Step3. replace the door:
1. Insert the hinges into their grooves and decrease the door.
2. Lower the two catches once more.
3. Close the oven door.
Pay consideration to the hinges when cleaning and/or removing the door.
Read also:
- The ultimate guide to cooking and drying on ovens
- how to fix oven door?
- how to use oven?
- how to unlock lg oven?
- how to install a built in oven?
- how to replace oven heating element?
- how to calibrate an oven?
What does f2 mean on a whirlpool oven?
The F2 code signifies a stuck relay. You must change the relay board. It could also be a stand-alone board or it may be a part of the ERC Electronic Range Control. If you know how to verify you won’t call a tech.
-F2- Alarm Heating Mode High Temperature
Is activated when the ERC senses a runaway heat condition or when the temperature exceeds “runaway limits”. The ERC will beep till the cancel or one other performance is chosen.
If the alarm Repeat the F2 alarm checks the oven sensor and wiring after first checking for a stuck relay.
If the alarm goes away confirm the oven will full a clean cycle with no sort of failure. In different words the issue with the oven sensor or relay board.
solution:
1. Once you may have gained access to the touchpad assembly, Inspect the keypad connector for the firm connection. The Keypad will likely be linked to the rear of the man control board. Check the connectors for a firm connection. Move to step two if the connection is secure.
2. Press CANCEL. If the error code returns after 60 seconds, change your keypad (additionally known as a touchpad or membrane switch). Some models may incorporate the keypad and control board as one unit. In this case, replace your complete control board (additionally known as ERC or clock).
What does f9 mean on whirlpool oven?
The F9 error code signifies an issue with the oven door lock assembly. The door lock assembly will be checked and changed if defective. If the door lock assembly is okay, then the electronic oven control board will be changed.
Solution:
Reset the appliance
- Power unit down by turning off the circuit breaker(s) for one (1) minute.
- Power unit up by turning on the circuit breaker(s).
- Monitor the range or oven for one (1) minute to make sure the error code doesn’t show once more.
- Verify the vary or oven operation.
