
Is this the first time you’re trying to install a portable dishwasher? Are you find it difficult to install a dishwasher? And don’t you want to call a professional that will charge a lot of cash? And you don’t know where to start and which tools and parts you use?
In this article, we’ll show you how to install a portable dishwasher step-by-step from a to z.
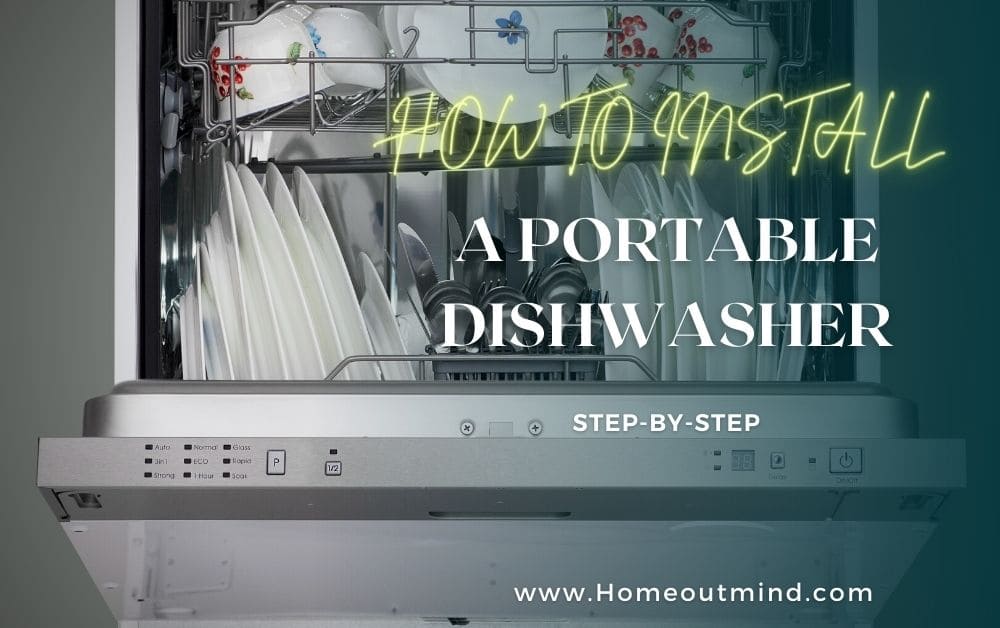
A portable dishwasher is just like its full-size built-in counterpart, only smaller, lighter, and more versatile. Since they are easy to set up and use, you’ll often be seeing this type of dishwasher in RVs, campsites, dorms, or apartments.
It typically comes with hoses and attachments that are to be connected directly to the kitchen faucet. In addition, it is mounted on wheels that allow it to be moved to the kitchen faucet and electrical outlet as needed.
So please follow the steps and instructions and don’t skip any step because if you do that you’ll miss something and your dishwasher will not operate correctly.
What do I need to install a portable dishwasher?
Part supplied:
1. Faucet adapter kit included in Installation Package.
- Faucet Adapter
- Casters
- Thin and thick washers
Tools you will need:
- Pliers
- Small Hammer
How to install a portable dishwasher step-by-step
Step1. Unpacking your portable dishwasher
Have at least two people move and install the dishwasher to prevent personal injuries. Remove all packaging materials: shipping tape, foam pieces, etc.
before use.
- Do not use sharp instruments, rubbing alcohol, flammable fluids, or abrasive cleaners.
- Check and make sure all parts necessary for installation are included.
Step2. Positioning your portable dishwasher
This dishwasher is designed for countertop installation. The dishwasher is equipped with a water supply and drain hoses that can be positioned to the right or the left to facilitate proper installation.
- Make sure the water supply/faucet connection is within reach of the inlet and drain hose assembly (5 ft).
Step3. Electrical Requirements
Make sure the electrical outlet is within reach of the power supply cord (4.5 ft).
It is recommended to not use receptacles that can be turned on/off by a switch or pull chain. Refer to the rating label and be sure the voltage and frequency correspond to the power supply.
Use a dedicated circuit that is rated for 10 amps. The dishwasher is equipped with a power supply cord with a 3-prong grounding plug.
The cord must be plugged into a mating 3-pronged wall receptacle.
If a mating wall receptacle is not available, it is the personal responsibility of the customer to have a properly grounded, 3-prong wall receptacle installed by a certified electrician.
Step4. Install casters
1. Move the dishwasher close to its intended use and storage location.
2. Place two shipping corner posts or other protective material behind it.
3. Carefully lay the dishwasher over onto its side and rest it on the protective surface.
4. Firmly push casters into holes as shown. Casters must be inserted completely.
5. Pull on each caster to make sure they are secured in position.
NOTE: It may be helpful to place a piece of wood between the caster wheels and then lightly tap the wood with a hammer.
If needed, place a block of wood between wheels and tap it to the seat.
6. Carefully upright the dishwasher onto its casters.
- Do not push down on an open door.
Step5. Install faucet adapter
The special faucet adapter supplied with your dishwasher must be attached to the sink faucet before you can use your dishwasher.
The faucet adapter is designed to fit standard spouts having internal or external threads. You will find the adapter and two washers in the faucet adapter packet in your dishwasher.
1. Attach the Faucet Adapter
To install a faucet adapter, first, remove the old aerator or trim ring on your faucet spout.
2. External Threads
• If the faucet has external threads: Insert the thinner of the two washers into the faucet adapter and attach it to the faucet spout.
• Tighten with pliers.
3. Internal Threads
• If the faucet has internal threads: Insert both of the washers into the faucet adapter and attach it to the faucet spout.
• Tighten with pliers.
4. Non-Standard Threads
• If the faucet adapter threads do not match your faucet spout, your local hardware or plumbing supply store normally has additional fittings to adapt your faucet spout to the special faucet adapter.
Note: A sink spray attachment hose can burst if it is installed on the same faucet as your dishwasher. We suggest that you disconnect the sink spray attachment, if your sink has one, and place a cap over the opening.
Step6. Connect the unicouple to the faucet
1. Run garbage disposer, if you have one, to clean out the disposer and thus allow water to drain from the sink through the disposer and down the drain.
2. Run a hot water faucet to purge cold water from the hot water line. The hot water must be between 120°F and 150°F for best wash performance. • Roll the dishwasher to a position just in front of the sink.
3. Pull the unicouple and its hoses completely out from the storage compartment at the rear of the dishwasher.
4. Attach the unicouple to the faucet adapter following the three steps below:
- Depress the locking collar at the top of the unicouple.
- Place the unicouple completely over the faucet adapter.
- Release the locking collar.
The unicouple should now be locked onto the faucet adapter.
• Turn on the hot water faucet and check for leaks. If a leak is detected, disconnect the unicouple, and refer to Step 4.
NOTE: The unicouple’s small hose carries water from the faucet to the dishwasher.
The large hose carries water from the dishwasher to the sink. Orient the faucet with the unicouple attached so water from the unicouple will run into the sink drain.
Step7. Faucet adapter leak
Skip this step if no unicouple leak was observed.
If a unicouple leak was observed in Step 3, take whatever actions are necessary to repair the leak. This may be as simple as tightening the faucet adapter.
Or, it may require the services of a plumber if water is leaking from the interface between the moveable faucet arm and the fixed part of the faucet fastened to the sink.
Step8. Pretest checklist
Review this list after connecting your dishwasher to avoid charges for a service call that is not covered by your warranty.
1. Open the door and remove all foam and paper packaging.
2. Locate the Owner’s Manual.
3. Read the Owner’s Manual to familiarize yourself with the operation of the dishwasher.
4. Remove the protective film, if present, from the control panel, door, and cabinet.
5. Add 2 quarts of water to the bottom of the dishwasher to lubricate the pump seal.
6. Plug the power cord into the outlet.
7. Close and latch the dishwasher door.
8. Start dishwasher.
How to disconnect a portable dishwasher?
Step1. Remove power from the dishwasher
1. Unplug the dishwasher.
2. Feed power cord back into its storage location
Step2. Remove unicouple from the faucet
1. Turn off the hot water.
2. Relieve water pressure from the unicouple assembly before disconnecting it from the faucet by depressing the red pressure-relief button on the unicouple.
3. Depress the locking collar and remove the unicouple from the faucet.
4. Drain excess water from the unicouple by holding it below sink level and allowing excess water to run from the hoses into a pan or similar container to catch the water.
5. Feed the unicouple and hoses back into their storage pocket.
- Depress the red button to release water pressure.
- Depress collar to release unicouple from the faucet.
6. If the sink is 34″ or higher from the floor, the excess water in unicouple hoses cannot be drained directly into the sink.
It will be necessary to drain excess water from hoses into a bowl or suitable container that is held outside and lower than the sink.
Step3. Store dishwasher
1. Close the dishwasher door.
2. Roll the dishwasher into its storage location.
Can I put a countertop dishwasher under the sink?
It’s possible to install a countertop dishwasher underneath the sink but, it’s not recommended by the manufacturer or myself. You will void the warranty.
Countertop dishwashers are designed to connect to your kitchen faucet.
If you install it under the sink, you would have to tap it in with the plumbing instead of using the faucet and sink. This is where the problem starts.
No dishwasher uses a rubber hose as a hot water source when a dishwasher is installed permanently under the counter. The drain hose is fine.
The accessories that come with the unit are for temporary hook-up only. If you use the hose on a permanent basis it will have water pressure inside 24/7.
This will subject the hose to a bust! The water control valve (solenoid) inside the dishwasher is for temporary usage also.
These dishwashers look small but they’re not. They are also heavy. Weight is 45 lb. plus the dishes and water are over 100 pounds! If you don’t have room on the countertop, you can use a sturdy table as I did.
If you want to use it under the countertop, and the unit sits too close to the floor, it will be much harder to load all dishes. It must be prompt up.
If you’re still considering mounting the dishwasher under the counter, keep the following in mind.
- All the hoses must be altered or eliminated. The discharge hose will not connect to disposal.
- The hose connections in the back of the unit are made of plastic. No soldering.
- A shut-off valve must be installed for the hot water line and USED when the dishwasher shuts off.
Can you install a portable dishwasher permanently?
Install it where ever you want. Connect water and wastewater and electricity. Make sure that everything is solidly fixed and watertight.
If you mount the dishwasher below kitchen working tops or other furniture it is a good habit to fix a vapor barrier
normally a piece of self-sticking aluminum-coated plastic below the wood which could be eventually exposed to the hot vapor when opening the dishwasher. Or take a piece of sheet metal to protect the wood.
Especially the modern type kitchen furniture use these compressed wood get damaged pretty easily as they are drawing vapor fluids easily.
Do you leave the faucet on for a portable dishwasher?
It’s not a great idea because when you turn on the tap at the same time the dishwasher is adding water to the tub, the tub will not fill with as much water as that cycle needs because some of the water is being diverted to go out of the faucet.
Unless you have the type of dishwasher that doesn’t do each part of the cycle by time to fill or empty, but rather by detecting how full or empty the tub is while filling or emptying the tub.
But most work on a timer probably because that is less expensive for the manufacturer to make.
One other exception is if the kitchen sink and dishwasher do not share the same water pipes or drain pipe.
About the only time that happens is if the sink and dishwasher are not next to each other. For instance, the sink could be on one wall and the dishwasher could be across the room, but kitchens aren’t often designed like that.
Read also:
- How To Use Thermador Dishwasher Step-By-Step
- How To Get Rid Of Roaches In Dishwasher?
- How Does a Dishwasher Work Step-By-Step
- How To Install Frigidaire Dishwasher Step-By-Step
- How To Clean Bosch Dishwasher Step-By-Step
Final tough
To install a portable dishwasher it’s not an easy installation and process but if you follow the guide above step by step you’ll know how to install it easily without calling a professional which costs you extra cash so do it yourself and install your portable dishwasher by following the steps above.
