
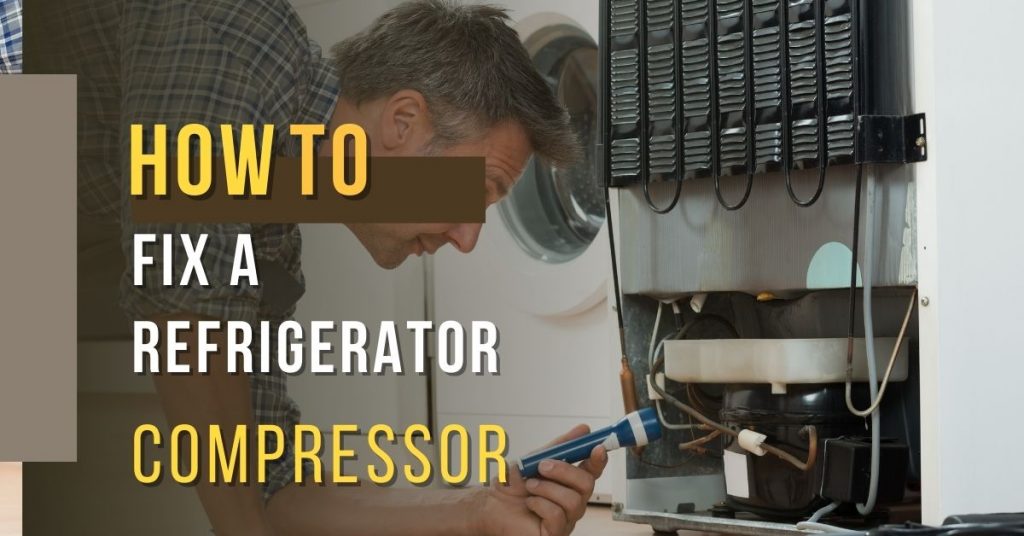
Are you wondering how to fix a refrigerator compressor? Is your refrigerator not running? Is your refrigerator is not cooling enough or is not cooling anymore, the compressor could be the problem.
You’re in the right place where we’ll talk about how to fix a refrigerator compressor step by step.
The compressor is the soul of the whole refrigerator. If the compressor of the refrigerator is faulty, it will lead to the abnormal operation of the refrigerator and affect the cooling effect.
Refrigerators today are inadequately cooled due to the new trend to enclose them in a cabinet. Enclosing a fridge without providing enough air circulation will prevent it from removing enough heat. This raises the head pressure which causes the compressor to work at its higher limits. This results in premature failure.
So please follow these steps and instructions below:
But before starting you may know:
How does a refrigerator compressor work
The compressor draws in the refrigerant fluid from the evaporator by reducing the pressure in the component.
The fluid is compressed by the compressor and moves to the condenser, in the condenser, the refrigerant fluid under high pressure releases heat to the environment and becomes liquid.
The next component of the circuit is the control device, which may be a capillary tube or an expansion valve.
The control element reduces the pressure of the liquid refrigerant which was formed in the condenser.
The drop in pressure permits the refrigerant to evaporate at low temperatures and return to the gaseous state when passing through the evaporator.
Tools you will need:
- a multimeter also called a volt meter
- a quarter inch socket driver you can
- a straight screwdriver
What is the reason for compressor failure in the refrigerator?
The refrigerator basically works on a vapor compression cycle. In this cycle, the work of the compressor is to increase the pressure of either saturated or super-heated refrigerant(isentropically) to higher pressure.
In due process, the temperature of the refrigerant increases, and it reaches some superheated state.
When there is a very low load on the evaporator (This may be either due to keeping of empty refrigerator on or accumulation of ice in freezing chamber or failure of control system etc.).
the incoming refrigerant in the compressor is in the vapor + liquid phase. Thus the compressor needs to handle this mixture which it is not designed for and may eventually fail.
Another reason for failure is keeping too much load in refrigerating chamber (like overloading it or keeping hot fluids like water, milk, etc) would cause the refrigerant to get more super-heated and move away from the saturated point.
Due to this, the specific volume of the refrigerant increases at a much higher rate, and in order to pressurize the same amount of refrigerant, the compressor needs to work for a long time, and also there is a huge rise in temperature due to this.
This may lead to the failure of the compressor.
Other reasons may include using too old a compressor whose specified life is already over or keeping the compressor exposed to a too-hot place, contamination of refrigerant, use of a refrigerant that is not compatible with the system.
How to fix a refrigerator compressor Step-By-Step
Step1. Check for power.
Make sure the refrigerator light is on.
Step2. Check the condenser fan.
- Remove the machine compartment cover.
• If the condenser fan runs, you know the compressor also is getting power be getting power because the compressor shares a circuit with the condenser fan motor on most refrigerators.
• If it doesn’t run, skip step 4.
Step3. Check the PTC start relay.
For safety,
- unplug the refrigerator.
- Unhook the retainer clip and pull the PTC start relay out of the refrigerator.
Shake the start relay:
• If the start relay rattles, replace the start relay.
• If the start relay doesn’t rattle, check for continuity by putting one multi-meter lead into terminal 5 and the other lead into terminal 6.
•If you detect an open circuit between those terminals, the meter will read 1 in the far left digit.
You’ll need to replace the PTC relay.
• If the start relay’s okay, you may have a defective compressor.
Contact a service technician to replace a compressor, because that repair involves recovering Freon.
Step4. Enter diagnostic test mode.
If the condenser fan wasn’t running in Step 2, the refrigerator may have a defective electronic control board or a bad temperature sensor.
Many refrigerators have a diagnostic test mode to check refrigerator operations.
To enter diagnostic test mode on the refrigerators:
- quickly press the light switch 3 times,
- then press and hold it a 4th time until you hear a long beep.
The refrigerator is now in test mode.
If this method doesn’t work on your model, check the tech sheet for instructions. It’s either behind the bottom front grill or taped to the back of the refrigerator.)
In test mode
- press the door switch twice to start the compressor.
The control beeps twice, and you should hear the compressor start.
If the compressor runs in the diagnostic test mode, go to the next step.
Step 5. Check the thermistor.
A bad thermistor prevents the compressor from running in normal operating mode.
The diagnostic test mode forces the compressor to run whether the thermistor is broken or not.
If the compressor doesn’t start in the diagnostic test mode, go to the next step.
Step 6. Check continuity from the electronic control board through the compressor circuit.
With the refrigerator unplugged, remove the screw that holds the control box.
Pull the control box down and remove the electronic control board.
Unplug the connector from the compressor circuit.
Put one multimeter lead on the red wire and the other on the blue wire.
• A reading of about 5 ohms indicates continuity in the compressor circuit which means you probably have to replace the electronic control board because the board isn’t sending voltage through the circuit to the compressor.
• If the meter displays a 1 in the far left digit on the meter, look for pinched or broken wires in the control board harness and on the wires leading up to the compressor.
Repair or replace any broken wires that you find.
Step 7. Check continuity on the control board harness.
Even if the wires look ok, check continuity in the control board harness.
Unplug the wire harness and check continuity between the ceiling plug and the control board plug on the blue wire and the red wire.
If the control board harness is ok,
plug the harness back in and check continuity between the red wire at the control board plug and the red wire on the compressor plug.
If the red wire is good, check the blue wire.
Read also:
- How to change air filter in LG refrigerator?
- How to clean refrigerator water filter?
- How to remove Samsung refrigerator doors?
- How to clean condenser coils on ge profile refrigerator?
- How to Replace GE Refrigerator Water Filter?
- How to convert a refrigerator into a freezer?
If both wires have continuity, and the start relay wasn’t the problem, have the compressor replaced.
