
Are you wondering how to remove air conditioner with your own hands? here is what to do.
Follow these instructions and steps below.
What are main tools do you need to remove air conditioner
1. Level meter, measuring tape
2. Screwdriver
3. Impact drill, drill head, electrical drill
4. Electroprobe
5. Universal meter
6. Torque wrench, open-end wrench, interior hexagon spanner
7. Electronic leakage detector 10. Pipe pliers, pipe cutter
8. Vacuum pump
9. Pressure meter
10. Pipe pliers, pipe cutter
11. Pipe expander, pipe bender
12. Soldering equipment, refrigerant container
How to remove air conditioner step by step
Indoor unit
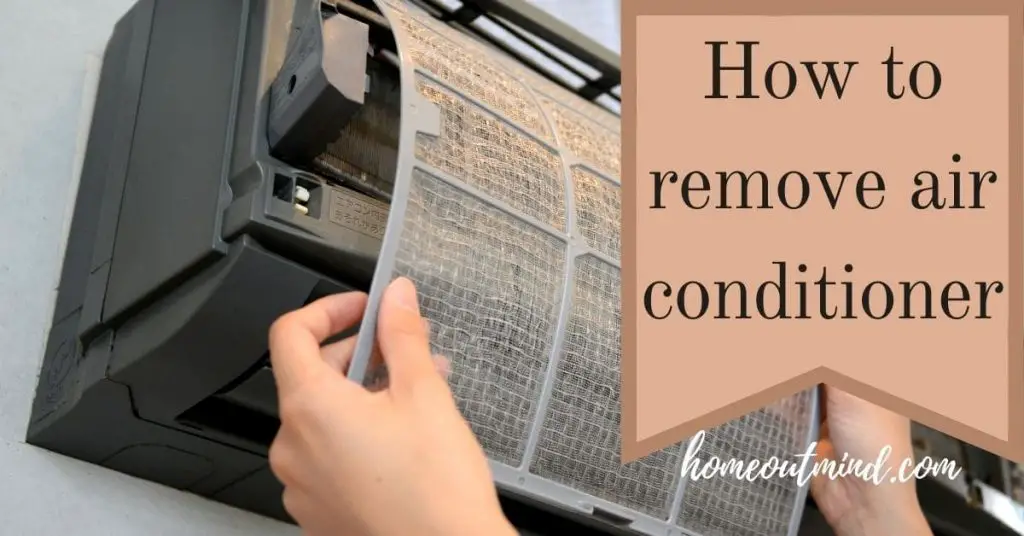
Step1. Remove filter assembly
- Open the front panel. Push the left filter and right filter till they’re separate from the groove on the front panel. Remove the left filter and right filter respectively.
Step2. Remove horizontal louver
- Push out the axile bush on a horizontal louver. Bend the horizontal louver with a hand after which separate the horizontal louver from the crankshaft of the step motor to take away it.
Step3.Remove panel and display
- Screw off the two screws which might be locking the display board.
Step4. Remove electrical field cover 2 and detecting plate(WIFI)
- Remove the screws on the electrical box cover 2 and detecting plate(WIFI), then take away the electrical field cover 2 and detecting plate(WIFI).
Step5. Remove front case sub-assy
1. Remove the screws fixing the front case.
2. Loosen the connection clasps between the front case sub-assy and bottom case. Lift the front case sub-assy and take it out.
Notes:
- Open the screw caps earlier than eradicating the screws around the air outlet.
- The amount of screws fixing the front case sub-assy is completely different for various models.
Step6. Remove vertical louver
- Loosen the connection clasps between the vertical louver and bottom case to take away the vertical louver.
Step7. Remove electric box assy
- Loosen the connection clasps between shield cover of electrical field sub-assy and electrical field, after which take away the defend cover of electrical box sub-assy. Remove the screw fixing electrical box assy.
1.
- Take off the water retaining sheet.
- Remove the chilly plasma generator by screwing off the locking screw on the generator.
- Take off the indoor tube temperature sensor. Screw off 1 grounding screw.
- Remove the wiring terminals of the motor and stepping motor.
- Remove the electrical box assy.
2.
- Twist off the screws which might be locking every lead wire and rotate the electrical box assy.
- Twist off the screws that are locking the wire clip.
- Loosen the ability wire and take away its wiring terminal. Lift the mainboard and take it off.
Instruction: Some wiring terminal of this product is with lock catch and different gadgets. The pulling technique is as under:
1) Remove the soft sheath for some terminals at first, hold the circlip after which pull out the terminals.
2) Pull out the holder for some terminals at first (holder is just not obtainable for some wiring terminal), maintain the connector, after which pull the terminal.
Step8. Remove evaporator assy
1. Remove Three screws fixing evaporator assy.
2. At the again of the unit, remove the screw fixing connection pipe clamp after which take away the connection pipe clamp.
3. First remove the left aspect of the evaporator from the groove of the underside case after which take away the best facet from the clasp on the underside case.
4. Adjust the position of the connection pipe on the evaporator barely after which raise the evaporator upwards to take away it.
Step9. Remove motor and cross-flow blade
1.
- Remove the screws fixing the motor clamp and then take away the motor clamp.
2.
- Remove the screws on the connection place of the cross-flow blade and motor; raise the motor and cross-flow blade upwards to take away them.
- Remove the bearing holder sub-ass.
- Remove the screw fixing step motor after which take away the step motor.
Outdoor unit
Step 1. Remove handle
Before disassemble.
- Remove 1 connection screw fixing handle after which take away the handle.
Step 2. Remove top cover
- Remove three connection screws among the many top cover plate, front panels, and proper aspect panels. Then remove the highest cover plate.
Step3.Remove grille and front panel
- Remove connection screws between the front grille and the front panel. Then remove the front grille.
- Remove connection screws connecting the front panel with the chassis and the motor assist, after which take away the entrance panel.
Step4. Remove axial flow blade
- Remove the nut fixing the blade and then take away the axial circulation blade.
Step5. Remove proper aspect plate and support plate
- Remove connection screws connecting the correct aspect plate with the valve assist and the electrical box. Then take away the correct aspect plate.
- Remove the 2 screws fixing the assist plate and chassis, after which remove the assist plate.
Step6. Remove electrical box assy
- Remove the two screws fixing the duvet of the electrical box.
- Lift to take away the duvet. Loosen the wire and disconnect the terminal.
- Lift to take away the electrical box assy.
Step7.Remove 4-way valve assy
- Unscrew the fastening nut of the 4-way Valve Assy coil and remove the coil. Wrap the 4- means Valve Assy with moist cotton and unsolder the Four weld spots connecting the 4-way Valve Assy to take it out.
Note: Refrigerant needs to be discharged firstly.) The welding course needs to be carried out as shortly as potential and holds wrapping cotton wet regularly. Be certain to not burn out the lead-out wire of the compressor.
Step8. Remove capillary sub-assy
- Unsolder weld level of capillary Sub-assy, valve, and outlet pipe of condensator. Then take away the capillary Sub-assy. Do not block the capillary when unsoldering it.
Note: earlier than unsoldering, discharge refrigerants fully)
Step9. Remove motor and motor support7
- Remove the Four tapping screws fixing the motor. Pull out the lead-out wire and remove the motor.
- Remove the two tapping screws fixing the motor assist. Lift motor assists to take away it.
Step10.Remove clapboard sub-assy
- Loosen the screws of the Clapboard Sub-Assy. The Clapboard Sub-Assy has a hook on the lower aspect.
- Lift and pull the Clapboard Sub-Assy to remove.
Step11.Remove Compressor
1.
- Remove the two screws fixing the gas valve. Unsolder the welding spot connecting the fuel valve and air return pipe and take away the gasoline valve.
Note: it’s essential to warp the gas valve when unsoldering the welding spot.)
- Remove the two screws fixing the liquid valve.
- Unsolder the welding spot connecting the liquid valve and remove the liquid valve.
2. Remove the three footing screws of the compressor and remove the compressor.
Read also:
- How to install air conditioner condenser?
- Air conditioner capacitor what does it do?
- How to replace air conditioner ducts?
- What is a split system air conditioner?
- What is an air handler on an air conditioner?
- How to install a wall air conditioner?
- The ultimate guide to air conditioner troubleshooting
- How to clean air conditioner?
After reading and following all instructions and steps above you may now know how to remove air conditioner ?
