
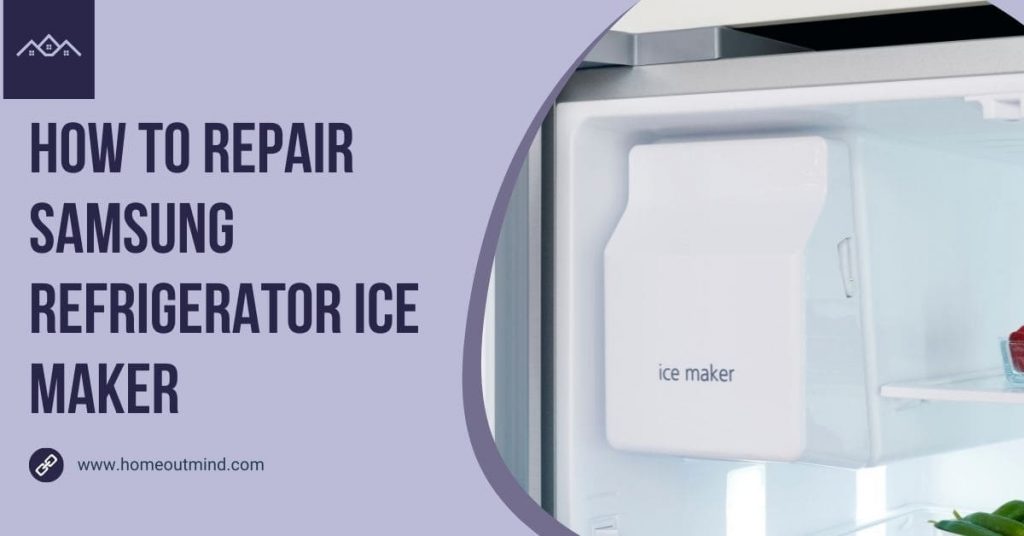
Are you having issues along with your ice maker and is jammed up and produced ice in several months? And you don’t know How to repair Samsung refrigerator ice maker?
Are you hit crushed or cubed ice push the button nothing happens and is it not making any sound at all?
is it jammed up locked up frozen inside are you’ll be able to even get the trait out of it from the inside?
Answer to the above questions that you may face this actually happened as a result of they experienced power outages from time to time and it in all probability got stuck midway through a cycle and that caused it to get jammed started to freeze the ice up worse and cause them you not to make ice anymore so that’s what that thing actually caused this situation to repair that.
In this article, we will show you How to repair Samsung refrigerator ice maker and how to get these issues working step-by-step.
What are tools you need to fix an ice maker?
- Screwdriver
- Philips Screwdriver
- Flat blade Screwdriver
- Pliers
- gloves
How to repair Samsung refrigerator ice maker Step-By-Step
Step1. put the fridge into Defrost mode
1) hold down the energy saver button and the fridge button for about eight seconds.
2) press the fridge button three or four times until (Fd) is shown on the display board.
This is enough force defrost mode.
3) leave it in the defrost mode for roughly five minutes to let the icemaker defrost.
If it doesn’t defrost ice leave the defrost mode for hours till you see the ice defrosting.
another method you can do it manually to defrost ice on your Samsung refrigerator:
1) use your hairdryer to defrost the ice.
2) shut off your fridge by holding down the energy saver and freezer buttons or from the circuit breaker And leave the door open for 2 or 3 hours till the ice defrosting.
Note: it’s not recommended to use these manual strategies but when the automatic technique doesn’t work you possibly can go along with these manual strategies.
Step2. remove the ice bucket
1) raise up and pull out the bucket to take away it.
Some of the older models also had a button that you have to push up the bucket to launch it.
Step3. remove the wire housing cover.
1) Using a Philips screwdriver to take away the wire housing cover screw.
Once the screw is removed
2) pull ahead on the cover and it’ll come right out.
Once the cover is removed.
3) depress the locking tab and unplug the wiring harness going to the icemaker.
Step4. Remove the ice tray duct.
1) using a Philips screwdriver to remove the screw for the ice tray duct.
2) take a flat blade screwdriver and try to put it in the little slot over on the left side and pry the tray so it will go over the way With that going over to the correct you can pull down to release it.
So one of the issues that make this icemaker unique is that it has a Cooling coil that runs directly on the bottom side of the ice maker and that’s why at the beginning One of the primary steps is they have to go through the defrost cycle.
Notes:
- make sure that there’s no ice or frost on this coil Because once you attempt to Pry it down.
- You don’t need it to be stuck in place if you damage this coil You have to replace the refrigerator. There’s no fixing it.
- So don’t attempt to chip any ice off of it Because you could puncture a hole in it and ruin the entire fridge.
Step5. Pry down the cooling coil on the ice maker.
1) take a flat blade screwdriver and pry down the cooling coil Just enough.
so that way that when you slide the icemaker out the coil will stay in place what the icemaker will slide out ahead.
Step6. release the ice maker.
1) press the depress locking tab at the top then you’ll be able to just grab the icemaker and Slide it ahead.
while you’re doing that just make sure that that coil underneath the ice maker is free and that snagging on anything.
Once you remove the ice maker from its place you’ll notice that the ice still block and stock the ice maker place to defrost that ice.
Step7.
Use your hairdryer to melt that icemaker.
Step8. Remove the motor.
Note: the motor locates back to the ice maker when you take away the ice maker you’ll notice it on the back.
1) take your flat head screwdriver
You will see a clip under the motor
2) pop that clip with a flat head screwdriver.
3) grab and then simply begin pulling towards you.
if it doesn’t want to come you need to:
4) make sure that you fully de-thawed and then the tab doesn’t drop back down in there so you actually want to pop it back up.
5) once you get that tab up. you should be able to pull it towards you.
if it again seems stuck:
6) wait and de-thaw some more once it is released
7) disconnect the wire harness on the left-hand side.
before you completely:
8) pull it out.
So once you got it a little loose go ahead and:
9) disconnect the wires.
To disconnect the wires:
- there is a small tab you pull back if you can’t get it with your fingers you could use a small flat head screwdriver but if you able to just grab it pull it back and get it to release.
10) now you are able to remove the entire motor.
Once you take away the motor and the ice maker.
Step9. Clean and defrost all the ice from the place where you removed the ice maker and the motor.
over time the seal opens up and that’s allowing air from your refrigerator to enter into the icemaker where it is a lot colder which creates condensation, which freezes you may notice that only parts of the seam have come undone and are permitting airflow
however to be extra safe and to make sure this works we recommending remove everything.
Step10. Seal up both the top and the bottom of this line with silicone.
most silicones will work you would just make sure it says freeze proof on there
other than that you don’t have to worry too much about which kind.
We suggest using a hand applicator simply to get in there with a caulking gun is troublesome it’s pretty tight areas.
1) lay down a nice thick bead of caulk as you can.
2) use your finger to smooth out that bead.
3) clean silicon off your fingers with a paper towel.
4) if you get any smears on the side of the plastic simply wipe it off with a paper towel.
Step11. put the motor back in.
make it possible for it’s fully dethawed.
you’ll notice your motor leaking water it happens for a while maybe a half-hour where there was still ice in
it and it was still de-thawing so make sure that there’s no water or moisture on it.
1) put it back it goes back in the same way it came out.
2) put it down on the bottom and then just push lightly with your hand.
make sure that it doesn’t get hung up on anything.
once you do get the motor in:
3) reconnect the wires and there’s actually a slot on the left there for the wires to go.
Step12. install the part that Samsung came out with to assist prevent this problem.
it’s just a little plastic square and a couple ( y clips ).
there should be a plastic square at the end of the coil around that Styrofoam.
1) use some pliers or your hands and remove that plastic square at the end of the coil and get it to detach.
2) take that plastic square off.
3) put the new plastic square.
once you set up the new plastic square you want to make sure that this side that would not have 45-degree angle lips is the side that you simply push into the Styrofoam.
Make sure you push it into the styrofoam and it goes in that little groove.
4) take the actual y clips and it’s best to start towards the back and you just push up on it and it will pop into place.
make sure you push it all the way to the back so it’s touching the plastic flange part.
5) the same thing with the other side, make sure that they’re facing down and all the way against the back.
Step13. Reinstall your ice maker
1) slide the ice maker into place on the fridge.
2) connect the wire harness.
3) make sure that the fill cup goes in underneath the fill spout.
4) locate the harness and connect it correctly.
5) ensure that it pushes in until you hear the retaining tabs snap into place.
6) tighten up the retaining screw.
Step14.
after you plug it back in now obviously it’s been defaulting if you hold the fridge button for 3 seconds it puts into power cool.
step15.
hold the freezer button for three seconds power cool so that you can get your refrigerator and freezer again up to the temperatures.
Read also:
- How to install Kitchenaid ice maker?
- How to install an automatic ice maker?
- How to install ice maker in whirlpool refrigerator?
- How to install ice maker frigidaire?
- How to clean an ice maker?
- How to clean a Scotsman ice maker?
- How do you clean a portable ice maker?
- How to remove an ice maker?
- How to replace a Frigidaire ice maker?
- How to replace ice maker in ge profile refrigerator?
