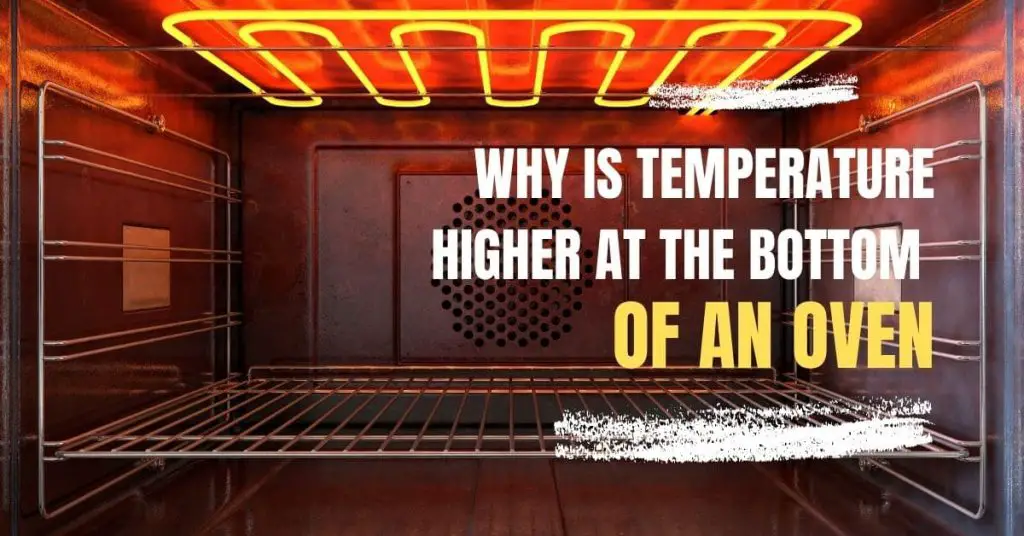
Are you questioning Why is temperature higher at the bottom of an oven? If your oven’s overheating and it’s burning or charring food, then it’s most likely a problem with the temperature sensor, a failed heating element, or a faulty control board.
In this article first, we’ll learn why is temperature higher at the bottom how it all works, and then we’ll troubleshoot and test each component with a multimeter.
Electric ovens are pretty simple at a base level. After the temperature is set the control board sends 120 volts through both sides of the heating element.
Once the oven is preheated, the control board monitors the temperature sensor. It’ll cycle the heating elements on and off to maintain the cooking temperature.
Now if the temperature sensor is faulty, then the control board will misinterpret the temperature and will overcompensate.
Additionally, if an element has shorted to ground it will complete the circuit through the oven frame. A shorted element might stay on even when the element should be cycled off.
The oven control board can also cause overheating. If one of the relay contacts is stuck closed it can also cause the element to stay on.
Note: Keep in mind there is some variation between models, and not all ovens will have the same parts.

What you will need
- To begin you might need a screwdriver, a nut driver, gloves, and a multimeter.
Before you begin
- Always be safe and disconnect the power at the breaker.
- Since there might be some sharp edges it’s best to wear cut-resistant gloves.
1. Gently pull the range slightly away from the wall.
2. As soon as there’s enough room, go in behind and unplug it from the receptacle.
3. Make sure that there isn’t too much tension on the cord.
4. slide the range out so you have plenty of room to work.
On the back of the oven is a cover panel. Some models have a small panel near the top and a larger panel near the bottom.
5. remove the screws.
6. The panel will likely be sitting on several hooks. Simply lift up to remove the panel.
7. Locate the sensor on the back of the oven. It’s usually near the broil element off to either side.
8. disconnect the wires.
9. Next set the multimeter to the resistance setting and adjust the range if needed.
Oven sensors are heat-sensitive resistors, also known as thermistors.
These sensors have different resistance at different temperatures. At room temperature, you should get a resistance of around 1100 ohms. If the reading is significantly off and is under 1000 or over 1200 ohms, then the sensor is faulty and should be replaced.
As well if there is no resistance and no continuity, then the sensor should also be replaced.
Some models will have sensors mounted from inside the oven. Other models will be accessed from the back.
10. Simply remove the screw to replace the sensor.
11. Align the new sensor and tighten the screw.
12. reconnect the wires.
How to test oven temperature sensor?
To test the heatign elements for shorts:
1. locate the element and disconnect the wires.
2. Set your multimeter to 1000 ohms or higher and test from one of the element terminals to the bare metal of the oven’s body.
Note: this will not work on a painted surface.
If you get any continuity reading then the element is shorting and will also need to be replaced.
The heating element can be unscrewed from inside the oven.
3. Now if both elements are good, then reconnect the wires and move on to the next test.
If you have eliminated all other problems, and the oven is still overheating, then it could be a problem with the control board.
First: do a visual inspection of the board. If you see any charred or blackened spots, then it’s a good sign that there’s a failed component or short circuit in the board.
If you had a power surge recently and that could be the cause.
Second: As well double-check that all the wire connectors are secure, as a loose connection can prevent power from going to where it’s needed.
Overall these boards are pretty simple to replace but are non-returnable after installation.
Note: So if you’re not sure that the control board is faulty it’s best to call a professional.
4. Align the back panel and replace the screws.
5. plug in the cord and push the range back into place.
6. reconnect the power. Now you can test your oven.
How to test oven heating element?
One common cause of underheating is a faulty element. The heating element might look blistered discolored or even broken. Often the break can’t be seen, so it’s best to test the element for continuity.
A continuity test will determine if there is a continuous path for electricity to flow through.
Without continuity, there is no resistance, and the element will not heat up.
1) locate the element on the back of the oven, and disconnect the wires.
2) Set your multimeter to the ohms or resistance setting.
3) touch each probe to each terminal.
If you have continuity and a resistance reading between 10 to 40 ohms, then the element is good.
If there is no continuity or the resistance is far outside of that range, then the element is faulty and will need to be replaced.
Another possibility is that the element has shorted through the frame of the oven.
1) Set your multimeter to 1000 ohms or higher
2) test from one of the element terminals to the bare metal of the oven’s body.
Note: this will not work on a painted surface.
If you get any continuity reading, then the element is shorting, and will also need to be replaced.
The heating element can be unscrewed from inside the oven.
if both elements are good, then reconnect the wires and move on to the next test. Some ovens will use a thermal fuse, which disconnects the power if the oven overheats.
Other models instead will use a high limit switch or thermostat.
A blown fuse or a faulty limit switch can prevent one or both elements from receiving power.
1) disconnect the wires and isolate the fuse.
2) Set the multimeter to the ohms or resistance with tone setting.
3) place the probes on each terminal.
If the fuse is good, the multimeter should display between 0 and 1 ohm.
If the multimeter doesn’t show a reading or doesn’t beep, then there is no continuity and the fuse should be replaced.
1) unscrew and remove it.
2) replace the thermal fuse and tighten the screw.
3) reconnect the wires.
If you have eliminated all other problems, and the oven’s still not working properly, then it could be a problem with the control board.
First: do a visual inspection of the board. If you see any charred or blackened spots, then it’s a good sign that there’s a failed component or short circuit in the board.
If you had a power surge recently that could be the cause.
Second: As well double-check that all the wire connectors are secure, as a loose connection can prevent power from going to where it’s needed.
Overall these boards are pretty simple to replace but are non-returnable after installation.
Note: So if you’re not sure that the control board is faulty it’s best to call a professional.
1. Align the back panel and replace the screws.
2. plug in the cord and push the range back into place.
3. reconnect the power.
4. Now you can test your oven.
Read also:
- The ultimate guide to cooking and drying on ovens
- how to fix oven door?
- how to use oven?
- how to unlock lg oven?
- how to install a built in oven?
- how to replace oven heating element?
- how to calibrate an oven?
after you read this article you’ll know why is temperature higher at the bottom of an oven at what caused that.


