
Are you wondering how an ice maker works? Do you have an ice maker at your home and you don’t know how is it works? Don’t worry we’ll do our best to explain to you how an ice maker works.
In this text, we’ll show different types of ice makers machines such as frigidaire, Kitchenaid, Maxx ice…. and how they work Furthermore, we’ll show how does a refrigerator work.
So please follow the instructions below to know how each of these ice makers works.
How Kitchenaid and whirlpool ice maker work?
When you first start your ice maker, the water pan will fill and the system will rinse itself before starting to make ice. The rinsing process takes about 5 minutes
Under regular operating conditions, the ice maker will cycle at preset temperatures. The ice level sensor located within the ice storage bin will monitor the ice ranges.
IMPORTANT: If the water supply to the ice maker is turned off, be sure you set the ice maker control to OFF.
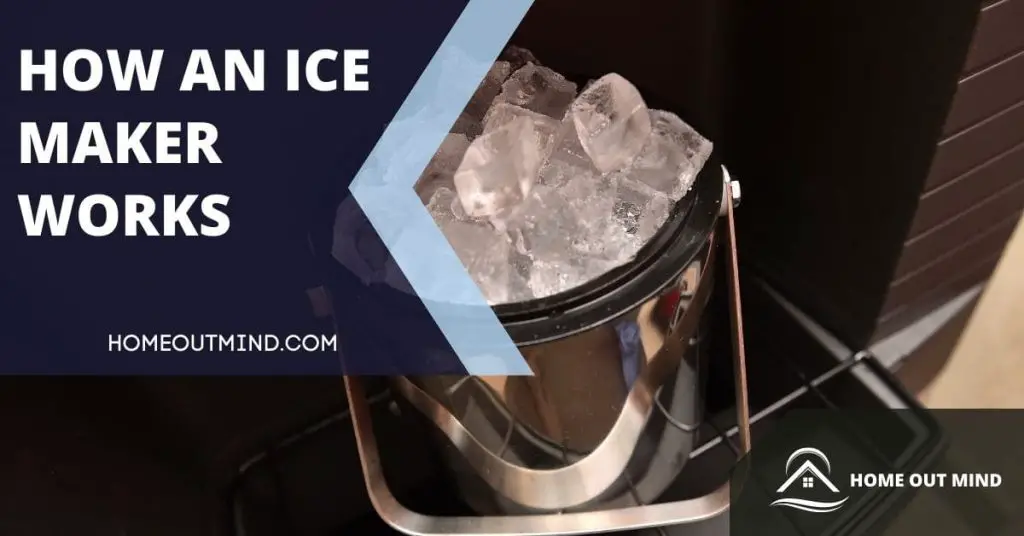
The Ice Making Process
1. Water is constantly circulated over a freezing plate. As the water freezes into ice, the minerals in the water are rejected. This produces a sheet of ice with low mineral content.
2. When the desired thickness is reached, the ice sheet is released and slides onto a cutter grid. The grid divides the sheet into individual cubes.
3. The water containing the rejected minerals is drained after every freezing cycle.
4. Freshwater enters the machine for the next ice-making cycle.
5. Cubes fall into the storage bin. When the bin is full, the ice maker shuts off automatically and restarts when more ice is needed. The ice bin is not refrigerated, and some melting will occur. The amount of melting varies with room temperature.
NOTE: As the room and water temperatures range, so will the amount of ice produced and stored. This means that higher working temperatures result in reduced ice production.
How ice-cube maker works?
1. General
In making ice cubes only cold, pure drinking water, ought to be used. Insofar ice cubes are mainly used for cooling of drinks for internal use, shall the quality of water utilized in making ice cubes be considered as essential because of the pureness and good storage of every other food product.
2. Designed use of the appliance
Your ice cube maker is designed solely for the production of ice cubes.
3. Other than instructed use
Do not use the ice cube container to cool or protect meals or drinks, insofar as these operations might cause the drainage system to get clogged, leading to the container filling up and water leaking out.
Any use of the ice cube maker aside from for the production of ice cubes, from cold drinking water, is to be considered as improper use.
4. Functioning principle
The coolant within the cooling system freezes the evaporator to a temperature of -15°C. A water pump sprays an even jet of water into the upside-down turned cup-formed evaporator, where forms solid ice.
When the ice cube is massive sufficient, start a phase of warm gas melting, throughout which the ice cubes come loose from the evaporator and fall down into the ice cube container.
When the ice cubes reach the level of a probe within the container, the ice forming terminates. When the level of the ice cubes falls under the level of the probe, then ice forming restarts automatically.
5. Switches and signal lights
The CB ice cube maker has a green switch on the front panel switches ON and OFF the equipment.
6. Preparations
The ice cube maker has been already cleaned within the factory. However, you’re advised to clean the inner parts again earlier than using the appliance.
When you start up the ice cube maker the first time, after service, or whenever you begin it up after a long period of layoff, pour Three liters of water into the internal basin.
This filling operation must be carried out by raising the flaps and pouring the water directly into the internal basin.
At other times the water runs automatically and the previous process will not be necessary.
After that, open the water supply faucet, insert the plug within the electrical supply socket and switch on the power supply.
Ice cube dispenser DSS:
- Turn on the water supply faucet and switch on the power supply.
- Remove the plug on the front grid panel. Using a screwdriver flip the adjuster screws of the timer clockwise (see fig.) till you hear a clik and the water pump stops.
- Repeat this operation three times, keeping one minutes pause between regulations.
- Fit up the plug back on the front grid.
The appliance will automatically begin producing ice.
How Maxx ice maker works?
1. HOW THE ICE MACHINES MAKES ICE?
- Turn the power switch to the ON position.
- press ON/OFF button in the front panel.
The LCD display screen lights.
After about Three minutes the machine will automatically go into the ice-making stage.
There are two distinct cycles: freeze and harvest. In the freeze cycle, water flows to the evaporator floor.
In the harvest cycle, the ice is launched and water enters the machine.
An entire cycle (freeze cycle and harvest cycle) takes 15 to 40 minutes, relying on temperature and working conditions.
Freeze: During the freeze cycle the compressor s pumping refrigerant, the fan motor is blowing air, and the water pump is pumping water.
When the batch ofice has been fully formed, the ice maker stops the freeze cycle, and the harvest cycle starts.
Harvest: During the harvest cycle, the compressor is still operating and power is supplied to the hot gas valve.
Every 20 cycles, the water purge valve opens and allows the water pump to purge the water from the water tank, eradicating all impurities and sediment.
This allows the machine to make clear ice cubes and maintain mineral build-up at a minimum.
The water pump will then cease. When the hot gas valve opens, it allows hot gas to go directly to the evaporator.
The gas warms the evaporator, causing the cubes to slide off the evaporator and into the storage bin.
The freeze cycle will restart when all of the cubes drop into the bin.
2. HOW THE MACHINE USES WATER?
The ice maker begins with a fixed charge of water that is contained in the water tank. As the water flows to the freezing evaporator floor, the water freezes and sticks to the ice cube molds.
During the ice-making course, recent water enters the water tank repeatedly because the water from the tank freezes repeatedly on the evaporator.
How Frigidaire portable ice maker works?
The portable ice maker uses a totally automatic control system, with an advanced microcomputer for easy and convenient ice making.
Making ice is easy and fast.
- Just add water
- plug into an outlet,
- press the ON button.
You can select one of the two ice cube sizes with the touch of a button.
When first turning on the unit or during ice making cycles, the compressor will stay idle for
Three minutes, while energizing.
There are warning indicators that alert you to fill water when the reservoir is empty and to remove ice when the storage basket is full.
The icemaker additionally has built-in safeguards that can limit accidental damage, automatically shutting
down the system when needed.
To use your frigidaire portable ice maker:
1. Ensure that the Drain Plug beneath the front of the unit is closed and the Water Tube Screen is in place.
2. Plug the Ice Maker into the wall outlet and the green power indicator light will blink (approximately every 5 seconds).
3. Open the Cover and remove the Ice Basket.
4. Fill the Water Reservoir. NOTE: Do not fill above the MAX water level mark behind the Water Reservoir.
5. Replace the Ice Basket and close the Cover.
6. Press the Power Button and the green indicator light will remain on.
To change between either the small or large ice size
- press the Select Button till the light is lit up beside the desired ice size.
7. The first ice-making cycle will last approximately 8 – 13 minutes relying on the ice size that is chosen.
The ice-making cycle begins with water being pumped into the Water Tray located under the Evaporator Fingers.
Over the next 8 – 13 minutes ice forms on the Evaporator Fingers.
Once this has been completed, the Ice Tray will tilt backward and the remaining water within the Ice Tray is drained back into the Water Reservoir.
The ice cubes are then dropped from the Evaporator Fingers and pushed ahead into the Ice Basket by the Ice Shovel.
The Ice Tray will automatically move back into position below the Evaporator Fingers and start the next cycle.
8. The ‘Ice Full’ LED light will light up when the ice basket is full and the Ice Maker will cease the ice-making cycle automatically.
- Gently take away the ice from the Ice Basket with the Ice Scoop.
Once the Ice Basket has been emptied and the Cover closed, the Ice Maker will restart its ice-making
perform automatically.
IMPORTANT: Wait Three minutes then press the Power Button to restart the ice-making operation.
9. The ‘Add Water’ LED light will light up when there is no more water within the Water Reservoir and the ice-making cycle will stop automatically.
- Press the Power Button as soon as (the Power Button will flash each 5 seconds).
- Remove the Ice Basket and add water to the Water Reservoir.
NOTE: Do not fill above the MAX water level mark at the back of the Water Reservoir.
- Replace the Ice Basket and close the Cover.
IMPORTANT: Wait Three minutes then press the Power Button to restart the ice-making operate.
10. When you have completed making ice, switch the ice to a freezer.
NOTE: The ice will last within the Ice Maker for up to an 18 hour period, relying on the ambient temperature.
- Stop the ice making cycle by pressing the Power Button.
- Unplug the unit from the wall outlet.
- Open the Cover and permit the Ice Maker to reach room temperature.
How does a refrigerator ice maker work?
while ice makers can vary from model to model they operate on similar principles?
we will address how an ice maker operates as well as potential problems you may encounter.
the three requirements for ice maker operation are:
- incoming voltage
- water supply and
- temperature
ice makers use 120 volts of alternating current to fill the tray and eject the ice cubes during the ice-making process.
the home’s water supply line connected to the water inlet valve needs to provide water pressure between 20 and120 pounds per square inch.
For optimal ice making the temperature should be zero degrees Fahrenheit or lower although the temperature may vary.
when the appropriate temperature is reached voltage is sent to the water inlet valve which opens and allows water to flow into the ice makers tray where the water begins to freeze.
when the ice maker detects that the cubes of water are sufficiently frozen the cubes are rejected into a storage bin
the icemaker refills with water and the cycle continues until the storage bin is filled to capacity.
common problems that can occur are the ice cubes being too small or Hollow or the ice maker not making ice at all.
if the cubes are hollow or too small the likely cause is insufficient water pressure to the inlet valve or a
restriction in the valve itself.
to help determine this:
- disconnect the supply line from the inlet valve.
- hold the line over a bucket.
- turn the water supply back on.
- observe whether or not there is a strong flow of water jetting out of the line.
a weak flow indicates a problem with the water line or the water supply valve, however, if the flow is strong the
the inlet valve is most likely restricted and will need to be replaced trying to clean out an old valve is not recommended due to the risk of part failure after repair..
if the ice maker is not making ice at all:
1. first check to see if there is any water or ice in the tray itself
if there isn’t any it’s possible that the fill tube has clogged with ice.
2. you can think of the fill tube by heating it with a hairdryer.
but be aware that a frozen fill tube is usually caused by insufficient water pressure or a defective inlet valve.
3. the temperature may also be too high for the ice maker to produce ice indicating a cooling problem within the appliance.
if you determine that the temperature is below 10 degrees Fahrenheit the ice maker itself is probably defective and will need to be replaced.
How U-line ice maker works?
All U-Line controls are preset on the manufacturing unit. Initial startup requires no adjustments.
NOTICE: U-Line recommends discarding the ice produced during the first two to 3 hours of operation to avoid possible dirt or scale which will dislodge from the waterline.
To turn the unit on or off:
Press the rocker switch positioned inside the door on the front panel, or behind the grille.
ice maker operation:
When the ice bucket is full, the ice-making mechanism will shut off. However, the refrigeration system will continue to cool and maintain the ice supply.
To turn off ice production:
Raise the bin arm into an upright and locked place. The unit will protect the temperature for ice storage.
Certain sounds are regular during the unit’s operation. You might hear the compressor or fan motor, the water valve, or ice dropping into the ice bucket.
During durations of limited use or high ambient temperatures, it is common for cubes to fuse together. Gently shake the bucket to break apart cubes.
If not utilizing the ice maker usually, empty the ice bucket periodically to ensure fresh cubes.
It is regular for cubes to appear cloudy. The cause is air trapped within the water due to fast freezing. It is not caused by the health, taste, or chemical makeup of the water.
It is similar to air that’s in each glass of water you drink.
Remove the ice bucket for emptying and cleaning.
To take away the ice bucket, raise the bin arm and remove the bucket from the ice compartment. Use the ice bucket for ice storage only.
Read also:
- How to install Kitchenaid ice maker?
- How to install an automatic ice maker?
- How to install ice maker in whirlpool refrigerator?
- How to install ice maker frigidaire?
- How to clean an ice maker?
- How to clean a Scotsman ice maker?
- How do you clean a portable ice maker?
- How to remove an ice maker?
- How to replace a Frigidaire ice maker?
- How to replace ice maker in ge profile refrigerator?
- How to repair Samsung refrigerator ice maker?
- Ice maker leaks water when filling?
After reading and following the instructions above you have a general overview of how an ice maker works in different types of ice makers.
